Tips for a Successful Quilt Square: Difference between revisions
No edit summary |
|||
| (One intermediate revision by one other user not shown) | |||
| Line 18: | Line 18: | ||
<p>'''Don’t:''' Test your quilt square when its wet. If it gets wet, gently soak up as much moisture as you can with a towel, then let it air-dry thoroughly for a day or more before testing it with a pair of 1.5v batteries.</p><div style="clear: both"></div> | <p>'''Don’t:''' Test your quilt square when its wet. If it gets wet, gently soak up as much moisture as you can with a towel, then let it air-dry thoroughly for a day or more before testing it with a pair of 1.5v batteries.</p><div style="clear: both"></div> | ||
===Still need help?=== | |||
[https://allhandsactive.org/visit Come to AHA in person] or [https://www.meetup.com/AllHandsActive/ on zoom] | [https://allhandsactive.org/visit Come to AHA in person] or [https://www.meetup.com/AllHandsActive/ on zoom] | ||
| Line 24: | Line 24: | ||
Return to '''[[LED Quilt]]''' main page. | Return to '''[[LED Quilt]]''' main page. | ||
[[Category:Projects]] | |||
Latest revision as of 16:58, 16 December 2023
Get Creative and Add Lots of Bling

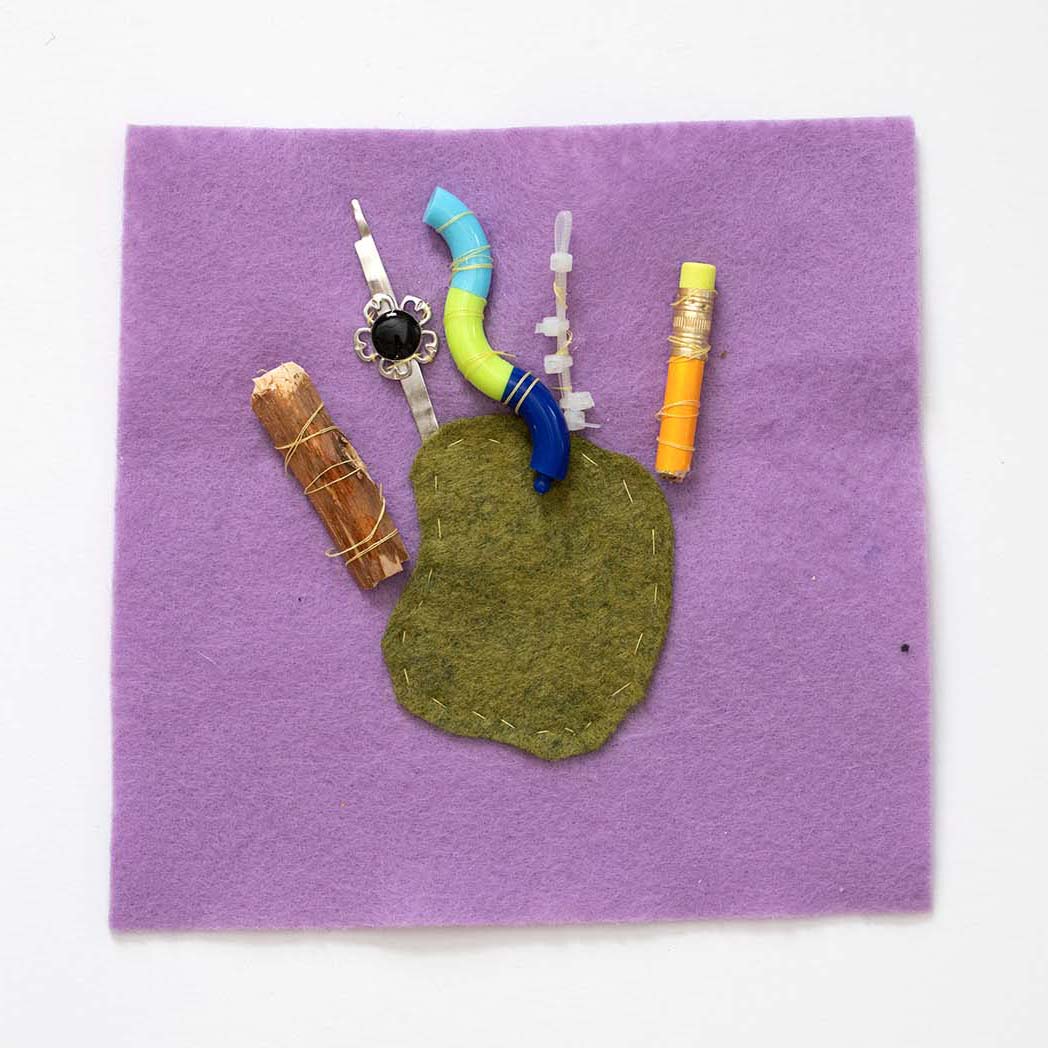
Do: Add your own items to your square! Make it unique, make it yours, have fun! Want to make a stick figure? Why not sew in some small sticks you found in the yard! You could use a ball of aluminum foil, for the head, and cut out pieces of a recycled butter tub to make clothes! Get creative! Other great ways to add to your design include magic markers, fabric paint, and ball point pens. Have an idea but your not sure it will work? Try testing it on the backside of your felt to see how it comes out.
Don’t: Use heavy items that might fall off, or cause the finished quilt to sag from their weight. Also avoid using anything fragile that might break. Remember, this quilt will be displayed outside, where it might blow around in the wind! And if the overall weight of you square is too high then we might not be able to include it in the finished quilt, so try to keep the weight low.
How To Attach Items

Do: Attach things to your quilt square using thread, yarn, or even safety pins (but watch out for short circuits)!
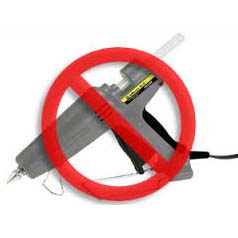
Don’t: Attach things to your quilt square with glue. Most kinds of glue don’t tend to stick well to felt, and can be surprisingly heavy. Some examples of glue that will not work well are Elmer’s glue, super glue, wood glue, and hot glue guns. The one exception is specially designed fabric glue, which you can use to attach lightweight things if you have it.
Testing Your Circuit

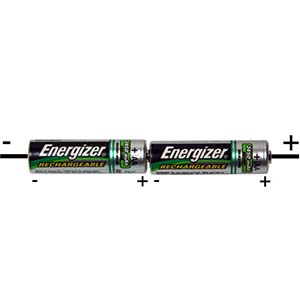
Do: Test your LED circuit by connecting it to a pair of 1.5v batteries. You can use AA, AAA, C or D size batteries. The need to be placed end-to-end (called "series") so that the the positive side of one battery is touching the negative side of the other one, as shown in the image. You can use tape to hold them together, but make sure the ends are firmly touching each other. Then touch the positive thread from your quilt square to the positive side of your battery pair, and touch the negative thread to the negative end of your batteries. If all is going well, your batteries will light up! Check out the Troubleshooting video for more on testing your circuit.
Don’t: Connect your LEDs to a 9volt battery – it will be too powerful and could burn out your LEDs. And of course, never connect your circuit to anything that you plug into a wall unless you have a solid understanding of electronics, voltages, and LEDs.
Water Can Cause Short Circuits

Do: Keep your quilt square clean and dry.
Don’t: Test your quilt square when its wet. If it gets wet, gently soak up as much moisture as you can with a towel, then let it air-dry thoroughly for a day or more before testing it with a pair of 1.5v batteries.
Still need help?
Come to AHA in person or on zoom
Return to LED Quilt main page.