Ender 3 - Bert: Difference between revisions
Jump to navigation
Jump to search
No edit summary |
|||
| (8 intermediate revisions by 5 users not shown) | |||
| Line 1: | Line 1: | ||
=== Bert is a Creality Ender 3 (upgraded) === | === Bert is a Creality Ender 3 (upgraded) === | ||
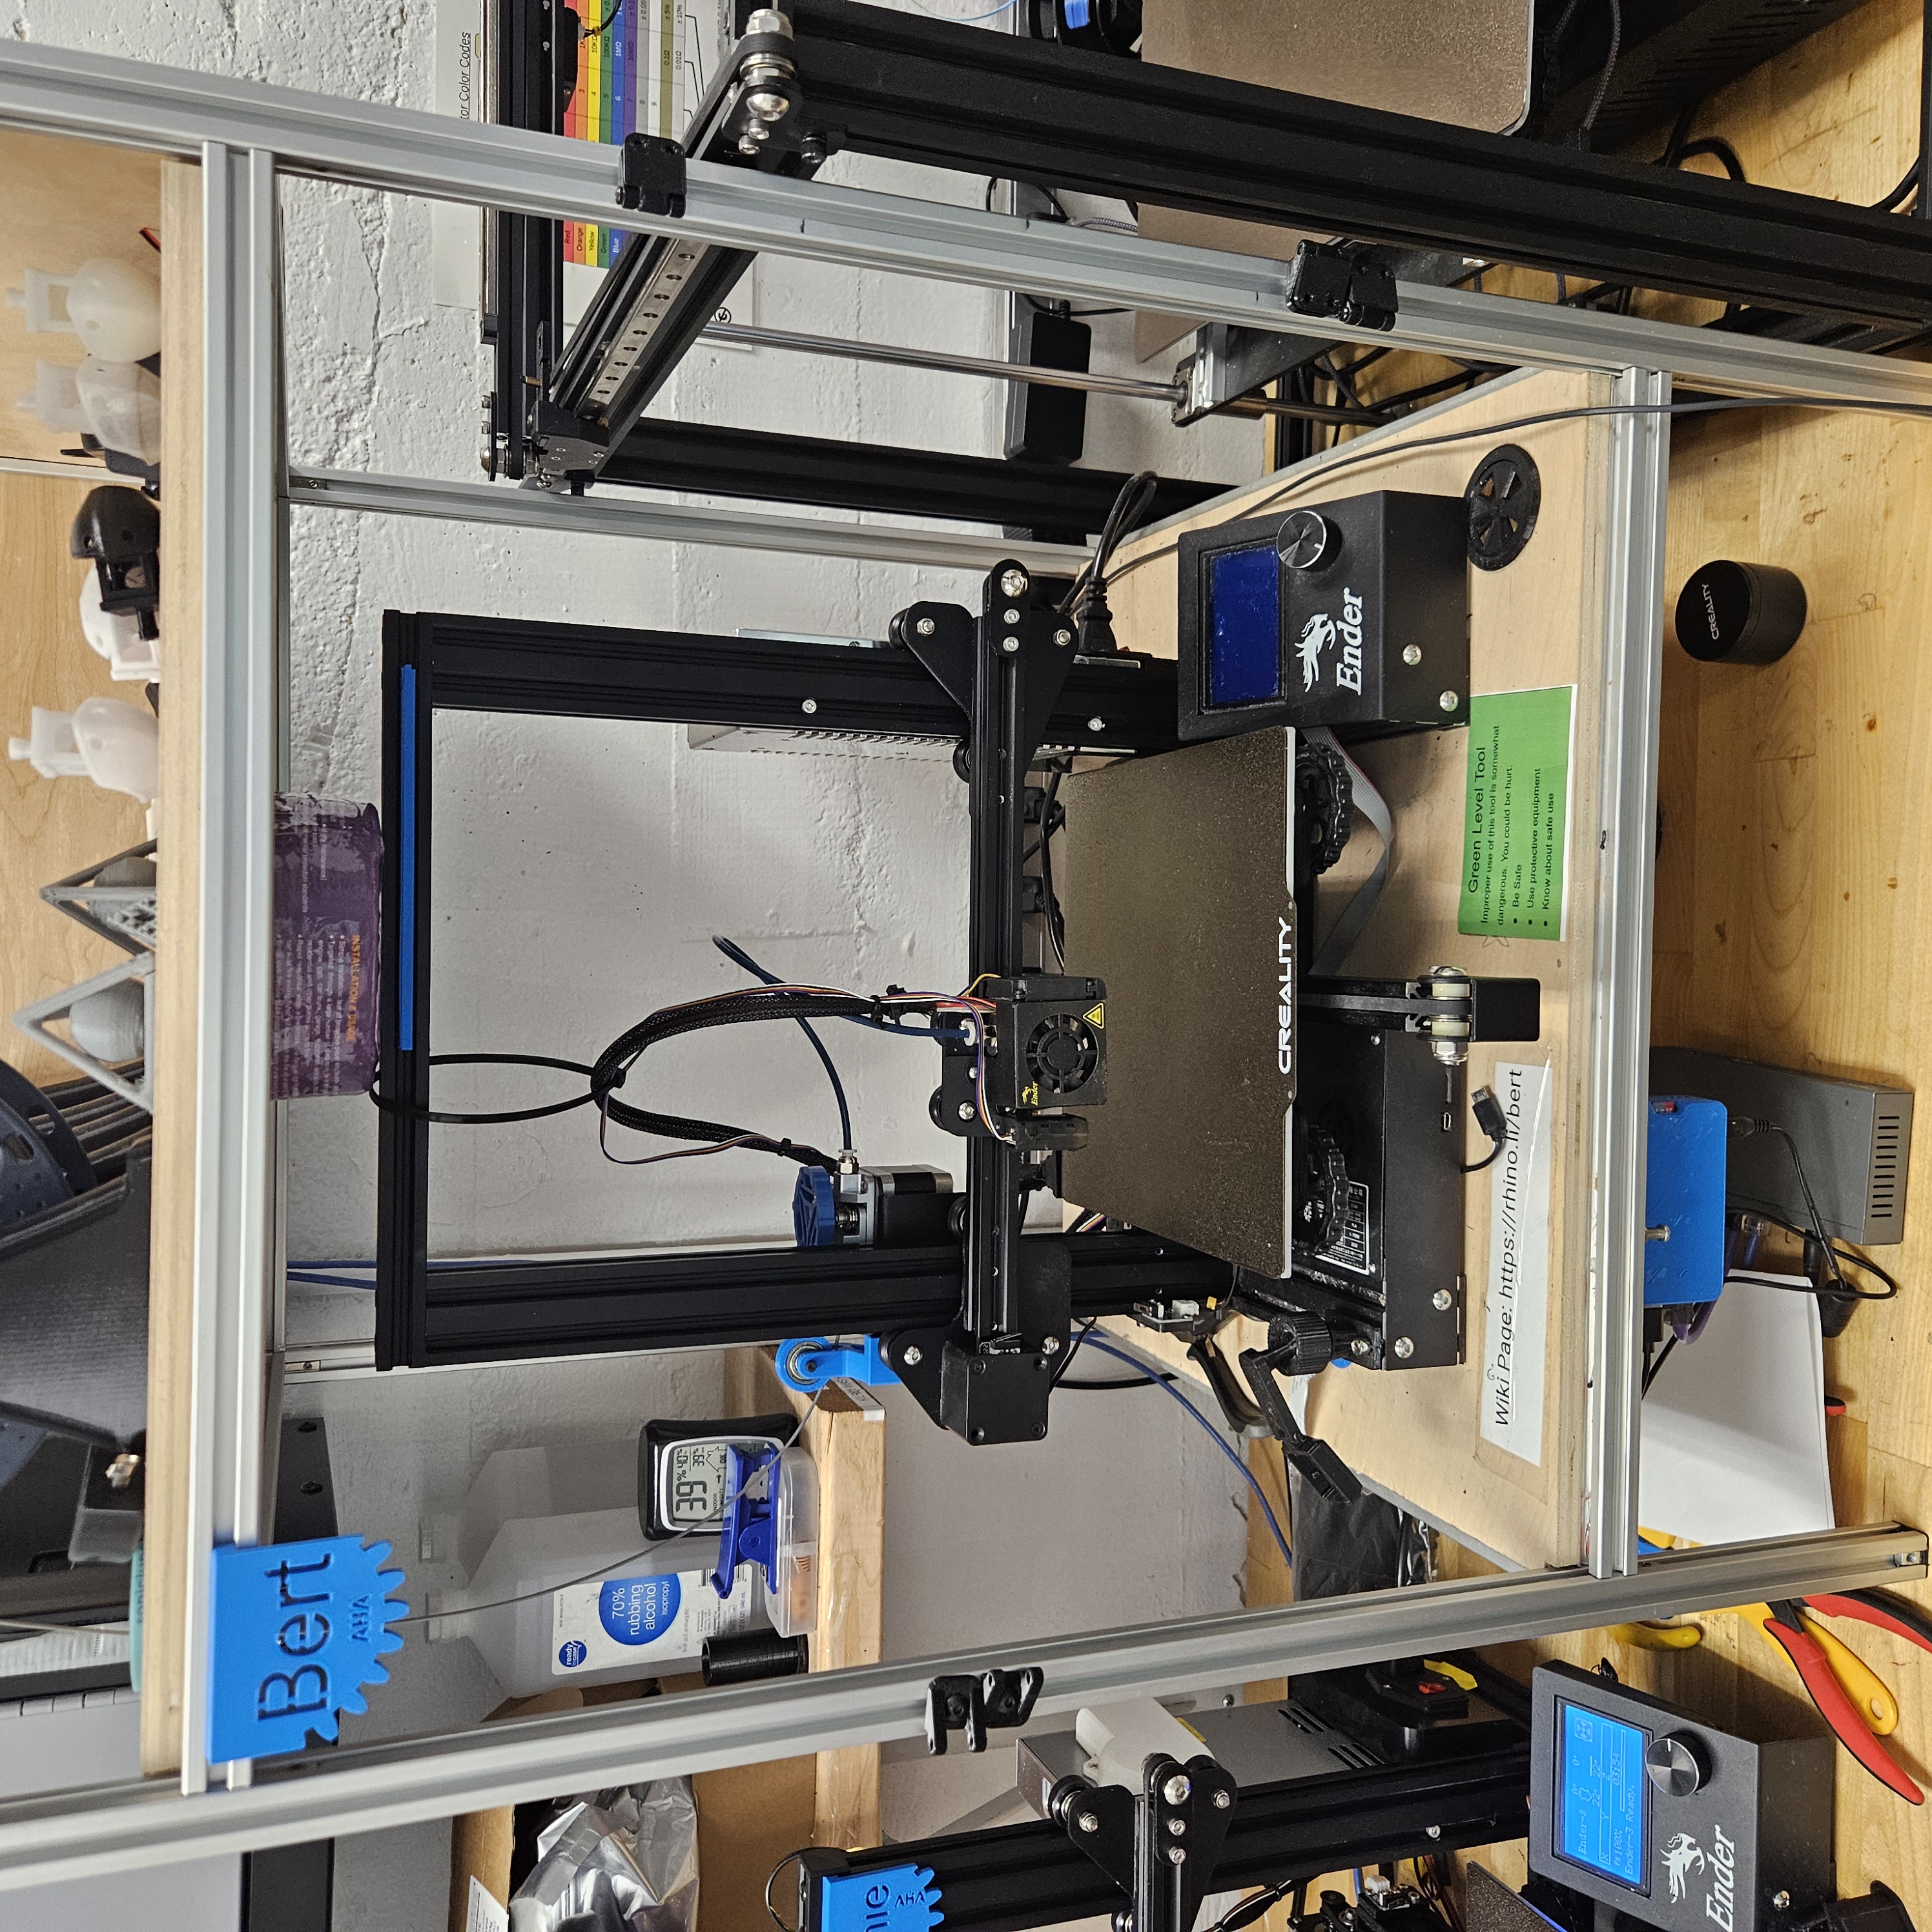
[[File:2025-04-24 17.52.24.jpg|thumb|Bert, an Ender 3]] | |||
== Summary == | == Summary == | ||
| Line 7: | Line 8: | ||
You might need to do the steps below for yourself or someone remote asking if anyone in the space can setup the printer. | You might need to do the steps below for yourself or someone remote asking if anyone in the space can setup the printer. | ||
* '''Clearing a print''' | * '''Clearing a print''' Simply wait until the build plate is cool, remove it from the magnetic surface on the carriage, and flex it '''lightly''' to pop off your print. Please don't use glue or metal scrapers of any kind on the flexible metal sheet. The plastic "razor blade" (not an ''actual'' razor blade) scraper is acceptable to use to remove any remaining stuck material. | ||
Loading and unloading filament | Loading and unloading filament | ||
* | * PLA should melt well at 215C, PETG at 245C. You can use the LCD controls, or the temperature tab in the printer's Octoprint page to heat the nozzle before loading the filament. Do not force it in if it's not feeding smoothly. '''NOTE:''' If you are loading PLA: keep in mind that the previous user might have had PETG in the machine, which means you need to heat up to PETG temperature to purge the nozzle effectively. Once the nozzle is purged of any PETG, you should turn down the temperature ASAP to avoid scorching your PLA. You might want to purge a little extra PLA just in case. | ||
=== Absolute slicing settings === | === Absolute slicing settings === | ||
| Line 25: | Line 23: | ||
Filament dia.: 1.75mm | Filament dia.: 1.75mm | ||
Feel free to download the | Feel free to download the PrusaSlicer [https://drive.google.com/file/d/1Zhm7Tp6lw52BYIUGcNb1cHELllZ14UlL/view?usp=sharing printer profile] for use on your own computer. | ||
=== Variable Slicing Settings === | === Variable Slicing Settings === | ||
| Line 61: | Line 59: | ||
Pass: TheNextGeneration | Pass: TheNextGeneration | ||
[[Category:3D Printers]] | |||
[[Category:Tools]] | [[Category:Tools]] | ||
Latest revision as of 19:47, 22 September 2025
Bert is a Creality Ender 3 (upgraded)

Summary
Basic before and after printer setup.
You might need to do the steps below for yourself or someone remote asking if anyone in the space can setup the printer.
- Clearing a print Simply wait until the build plate is cool, remove it from the magnetic surface on the carriage, and flex it lightly to pop off your print. Please don't use glue or metal scrapers of any kind on the flexible metal sheet. The plastic "razor blade" (not an actual razor blade) scraper is acceptable to use to remove any remaining stuck material.
Loading and unloading filament
- PLA should melt well at 215C, PETG at 245C. You can use the LCD controls, or the temperature tab in the printer's Octoprint page to heat the nozzle before loading the filament. Do not force it in if it's not feeding smoothly. NOTE: If you are loading PLA: keep in mind that the previous user might have had PETG in the machine, which means you need to heat up to PETG temperature to purge the nozzle effectively. Once the nozzle is purged of any PETG, you should turn down the temperature ASAP to avoid scorching your PLA. You might want to purge a little extra PLA just in case.
Absolute slicing settings
Bed size: 220x220
Print Height: 250
Nozzle size: .4mm
Filament dia.: 1.75mm
Feel free to download the PrusaSlicer printer profile for use on your own computer.
Variable Slicing Settings
All other slicing settings depend on material and aspects of the part. The table below contains the latest tested slicing profiles and is only considered a starting point. Consult your software manuals on how to import these profiles. A good source of information for all the variable settings can be found here and here.
| PLA | PETG | ABS | |
|---|---|---|---|
| PrusaSlicer | Works with nearly-default Ender 3 settings | ||
| Cura | |||
| Simplify3D | PLA |
Printing With Octoprint
Octoprint access when you are on the internal space Member Wifi
login URL: https://10.255.225.70
User: AHAender3
Pass: TheNextGeneration