Robot Portraits: Difference between revisions
Jump to navigation
Jump to search
Added comparison image |
Added carbide create notes |
||
| Line 1: | Line 1: | ||
Robot portraits are made by taking a photo of a person or object and processing it into a line drawing to be drawn with the [[Shapeoko CNC Machine]] using a pen/sharpie adapter. | Robot portraits are made by taking a photo of a person or object and processing it into a line drawing to be drawn with the [[Shapeoko CNC Machine]] using a pen/sharpie adapter. | ||
== Carbide Create Setup == | |||
* Set the material to be as thin as possible | |||
* Set the retraction to be as small as possible | |||
* Use the contour path tool | |||
* Use the Sharpie 400 Custom endmill, which is set to the maximum feed rate (roughly 393 in/min) | |||
* Make sure that the bottom of cut is set to the bottom of the material (very thin) | |||
== Notes == | == Notes == | ||
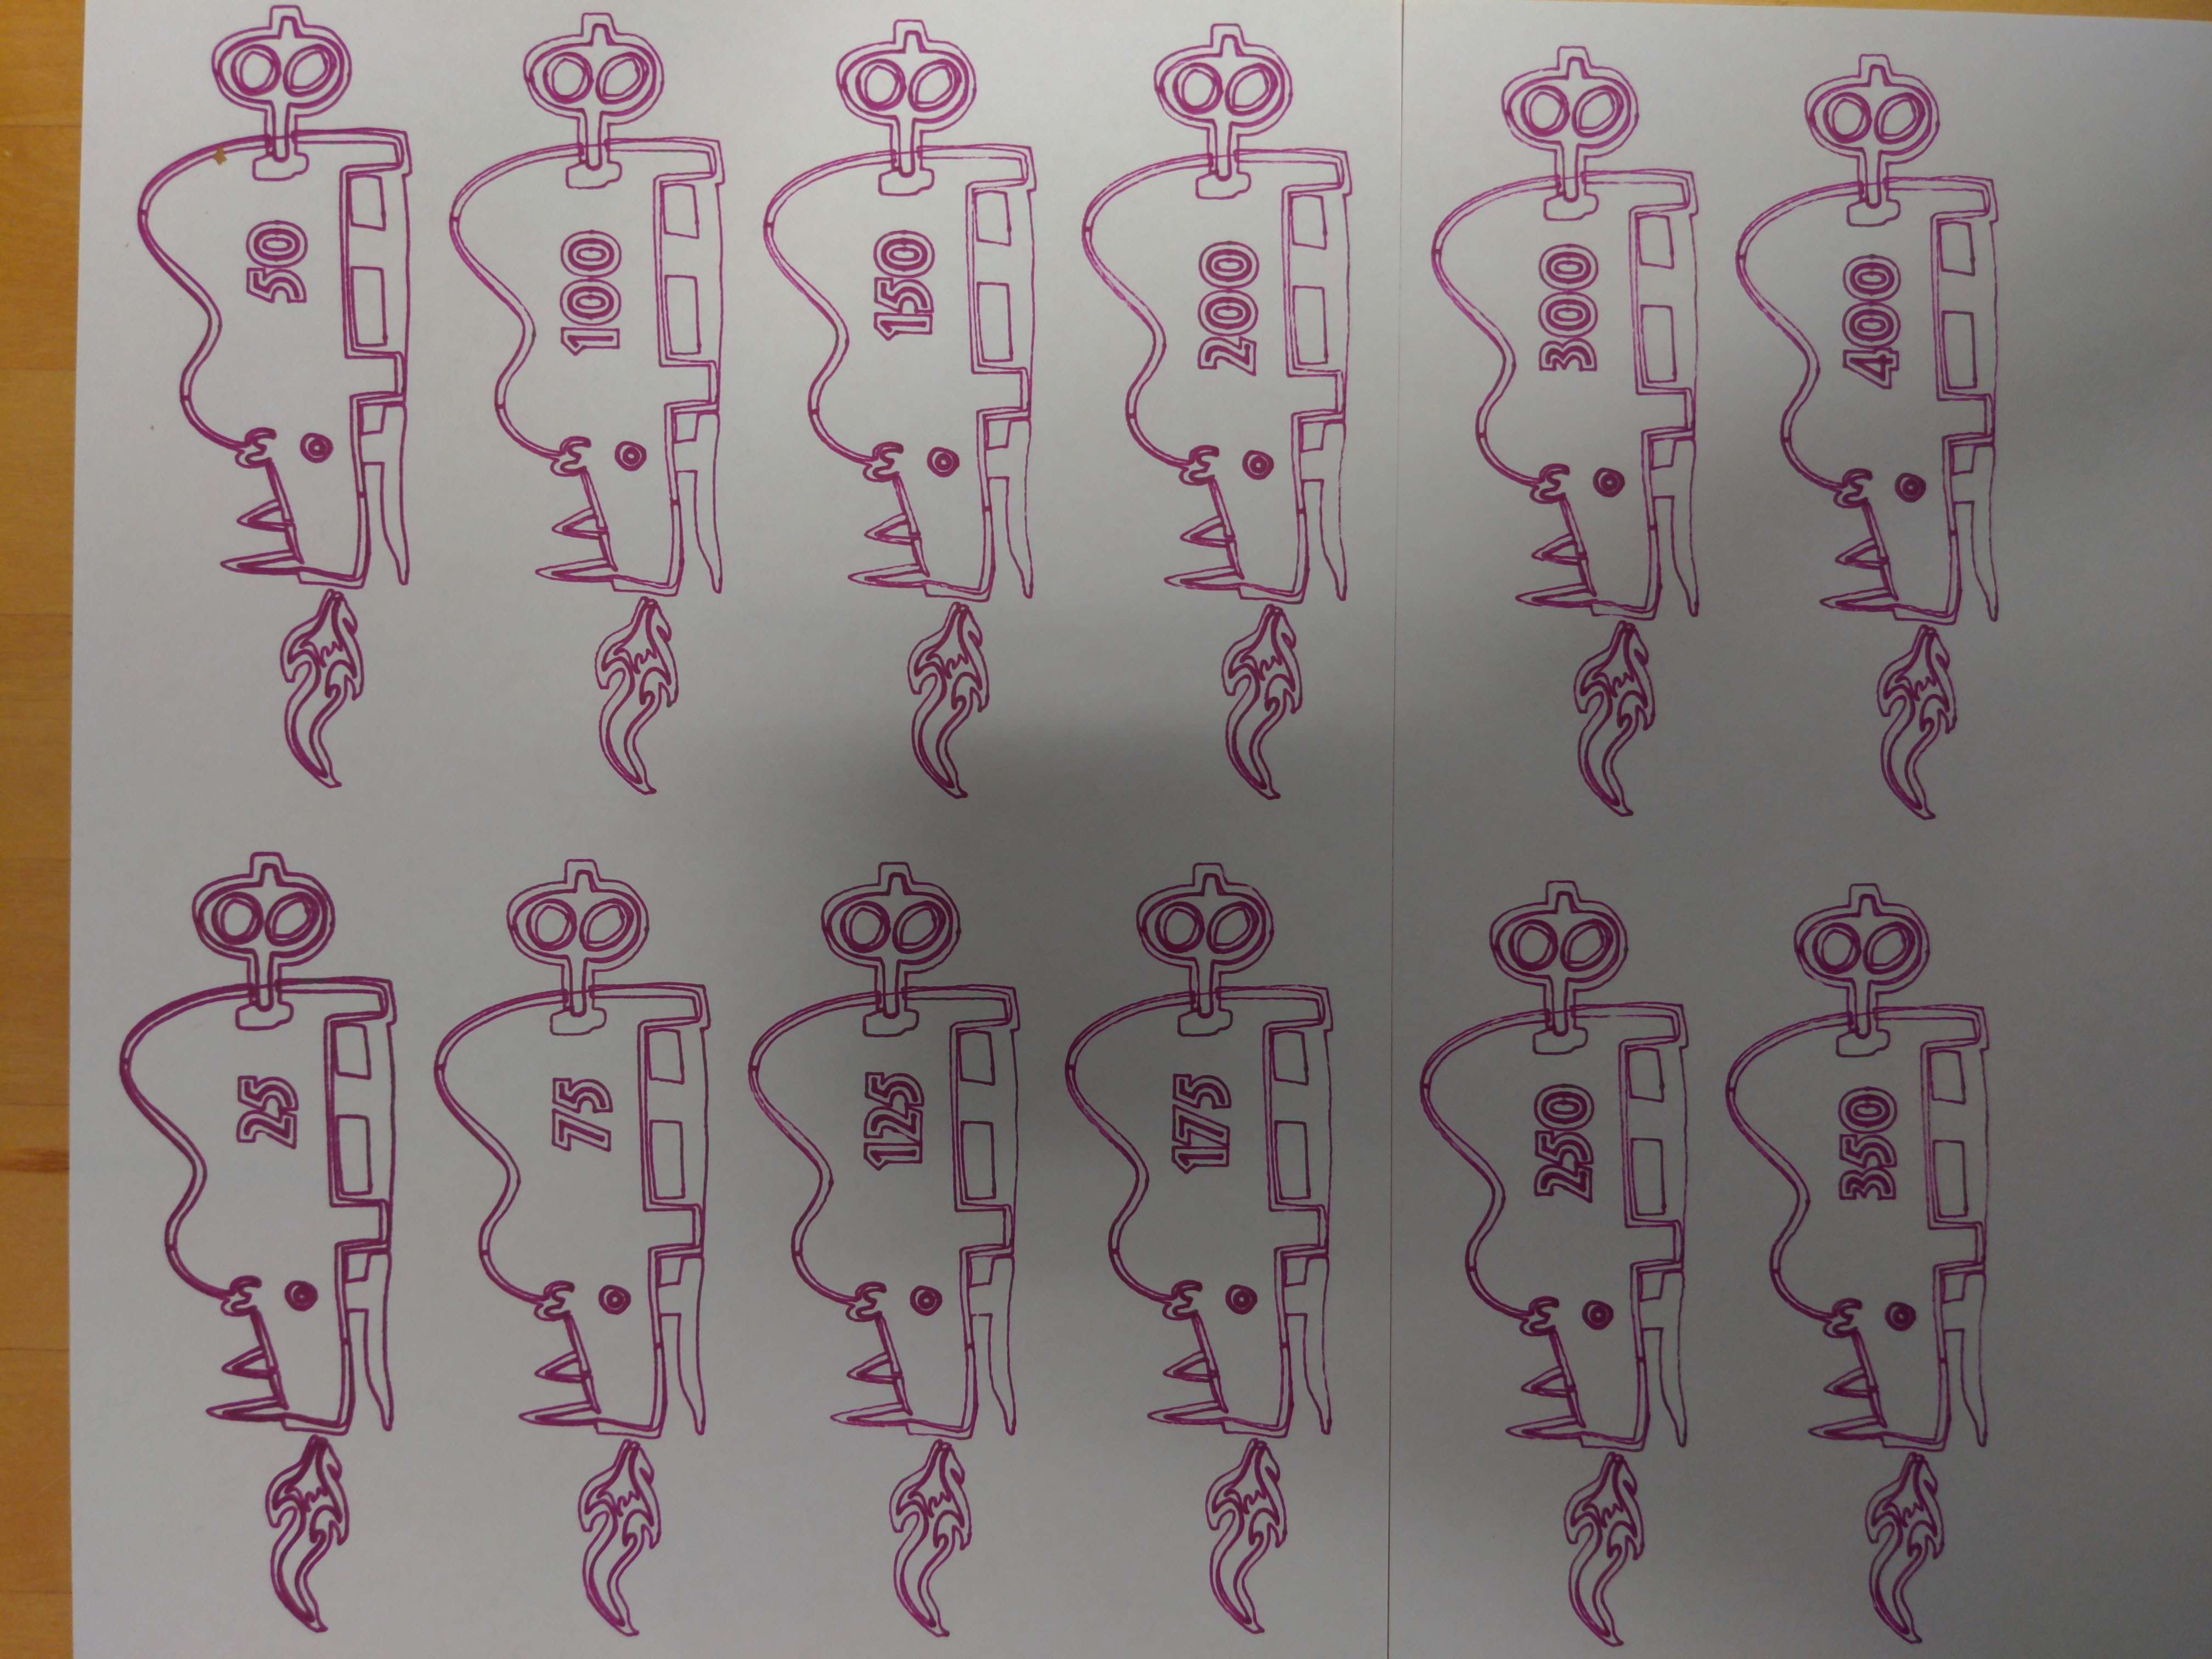
[[File:20221022 182615 535335522470286709.jpg|alt=Several drawings of the AHA logo using different feed rates|thumb|Comparison of CNC drawings at different feed rates]] | [[File:20221022 182615 535335522470286709.jpg|alt=Several drawings of the AHA logo using different feed rates|thumb|Comparison of CNC drawings at different feed rates]] | ||
Here are some examples of the same drawing being draw at different feed rates. | Here are some examples of the same drawing being draw at different feed rates. | ||
Revision as of 23:23, 22 October 2022
Robot portraits are made by taking a photo of a person or object and processing it into a line drawing to be drawn with the Shapeoko CNC Machine using a pen/sharpie adapter.
Carbide Create Setup
- Set the material to be as thin as possible
- Set the retraction to be as small as possible
- Use the contour path tool
- Use the Sharpie 400 Custom endmill, which is set to the maximum feed rate (roughly 393 in/min)
- Make sure that the bottom of cut is set to the bottom of the material (very thin)
Notes

Here are some examples of the same drawing being draw at different feed rates.