UV Flatbed Printer
The UV Flatbed Printer is an Epson L800 six-color printer which has been repurposed inside an industrial grade shell. Instead of printing onto paper, the print head is oriented over a flatbed which can move up and down as well as in and out on one axis to print on objects which are not paper. Special UV-cured inks are used, and a powerful water cooled UV LED is turned on during the printing process to cure the ink to pretty much anything.
Printing Medium
The printer can print on glass, wood, plastic, cloth, metal, and other non-paper media. To print on metal, coat the area to be printed with clear nail polish first. With a cylindrical adapter similar to ones used for the laser cutter, it could also print on cylinders.
To enable printing on glass and transparent plastic, the additional two colors of the print head (non-Cyan, Magenta, Yellow, Black) are used for White instead of their original colors. Special ripping and printing software, "PartnerRIP White", is provided to print a white layer underneath any color when printing.
Hardware
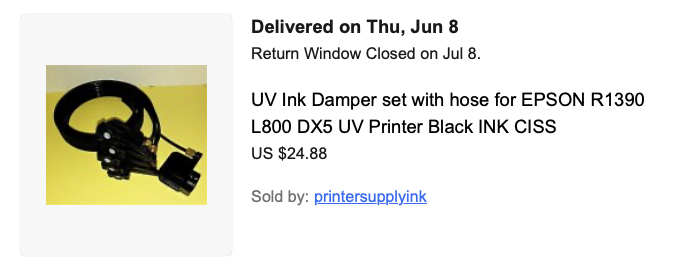
An Epson L800 is dismantled to remove the print head, ink damper, and waste ink pump to install in the industrial enclosure. A UV LED light is installed next to the print head with a water cooling system and a pump. There is a waste ink bottle on the right side behind a door. The original ink tanks are discarded and the ink damper hoses are inserted into five bottles of UV cured ink. The bottles are for Cyan, Magenta, Yellow, Black, and two hoses for White.
The ink bottles that came with the machine are not that great and they just hot glued the hoses after inserting the hoses through a hole in the bottle. Designing a better system for the ink would be helpful.

Ink
The ink is UV cured CMYK. The ACHI UV Flatbed store on eBay should sell it, but if there is a cheaper source to be found or one in the USA that would be nice.
Turning the Printer On
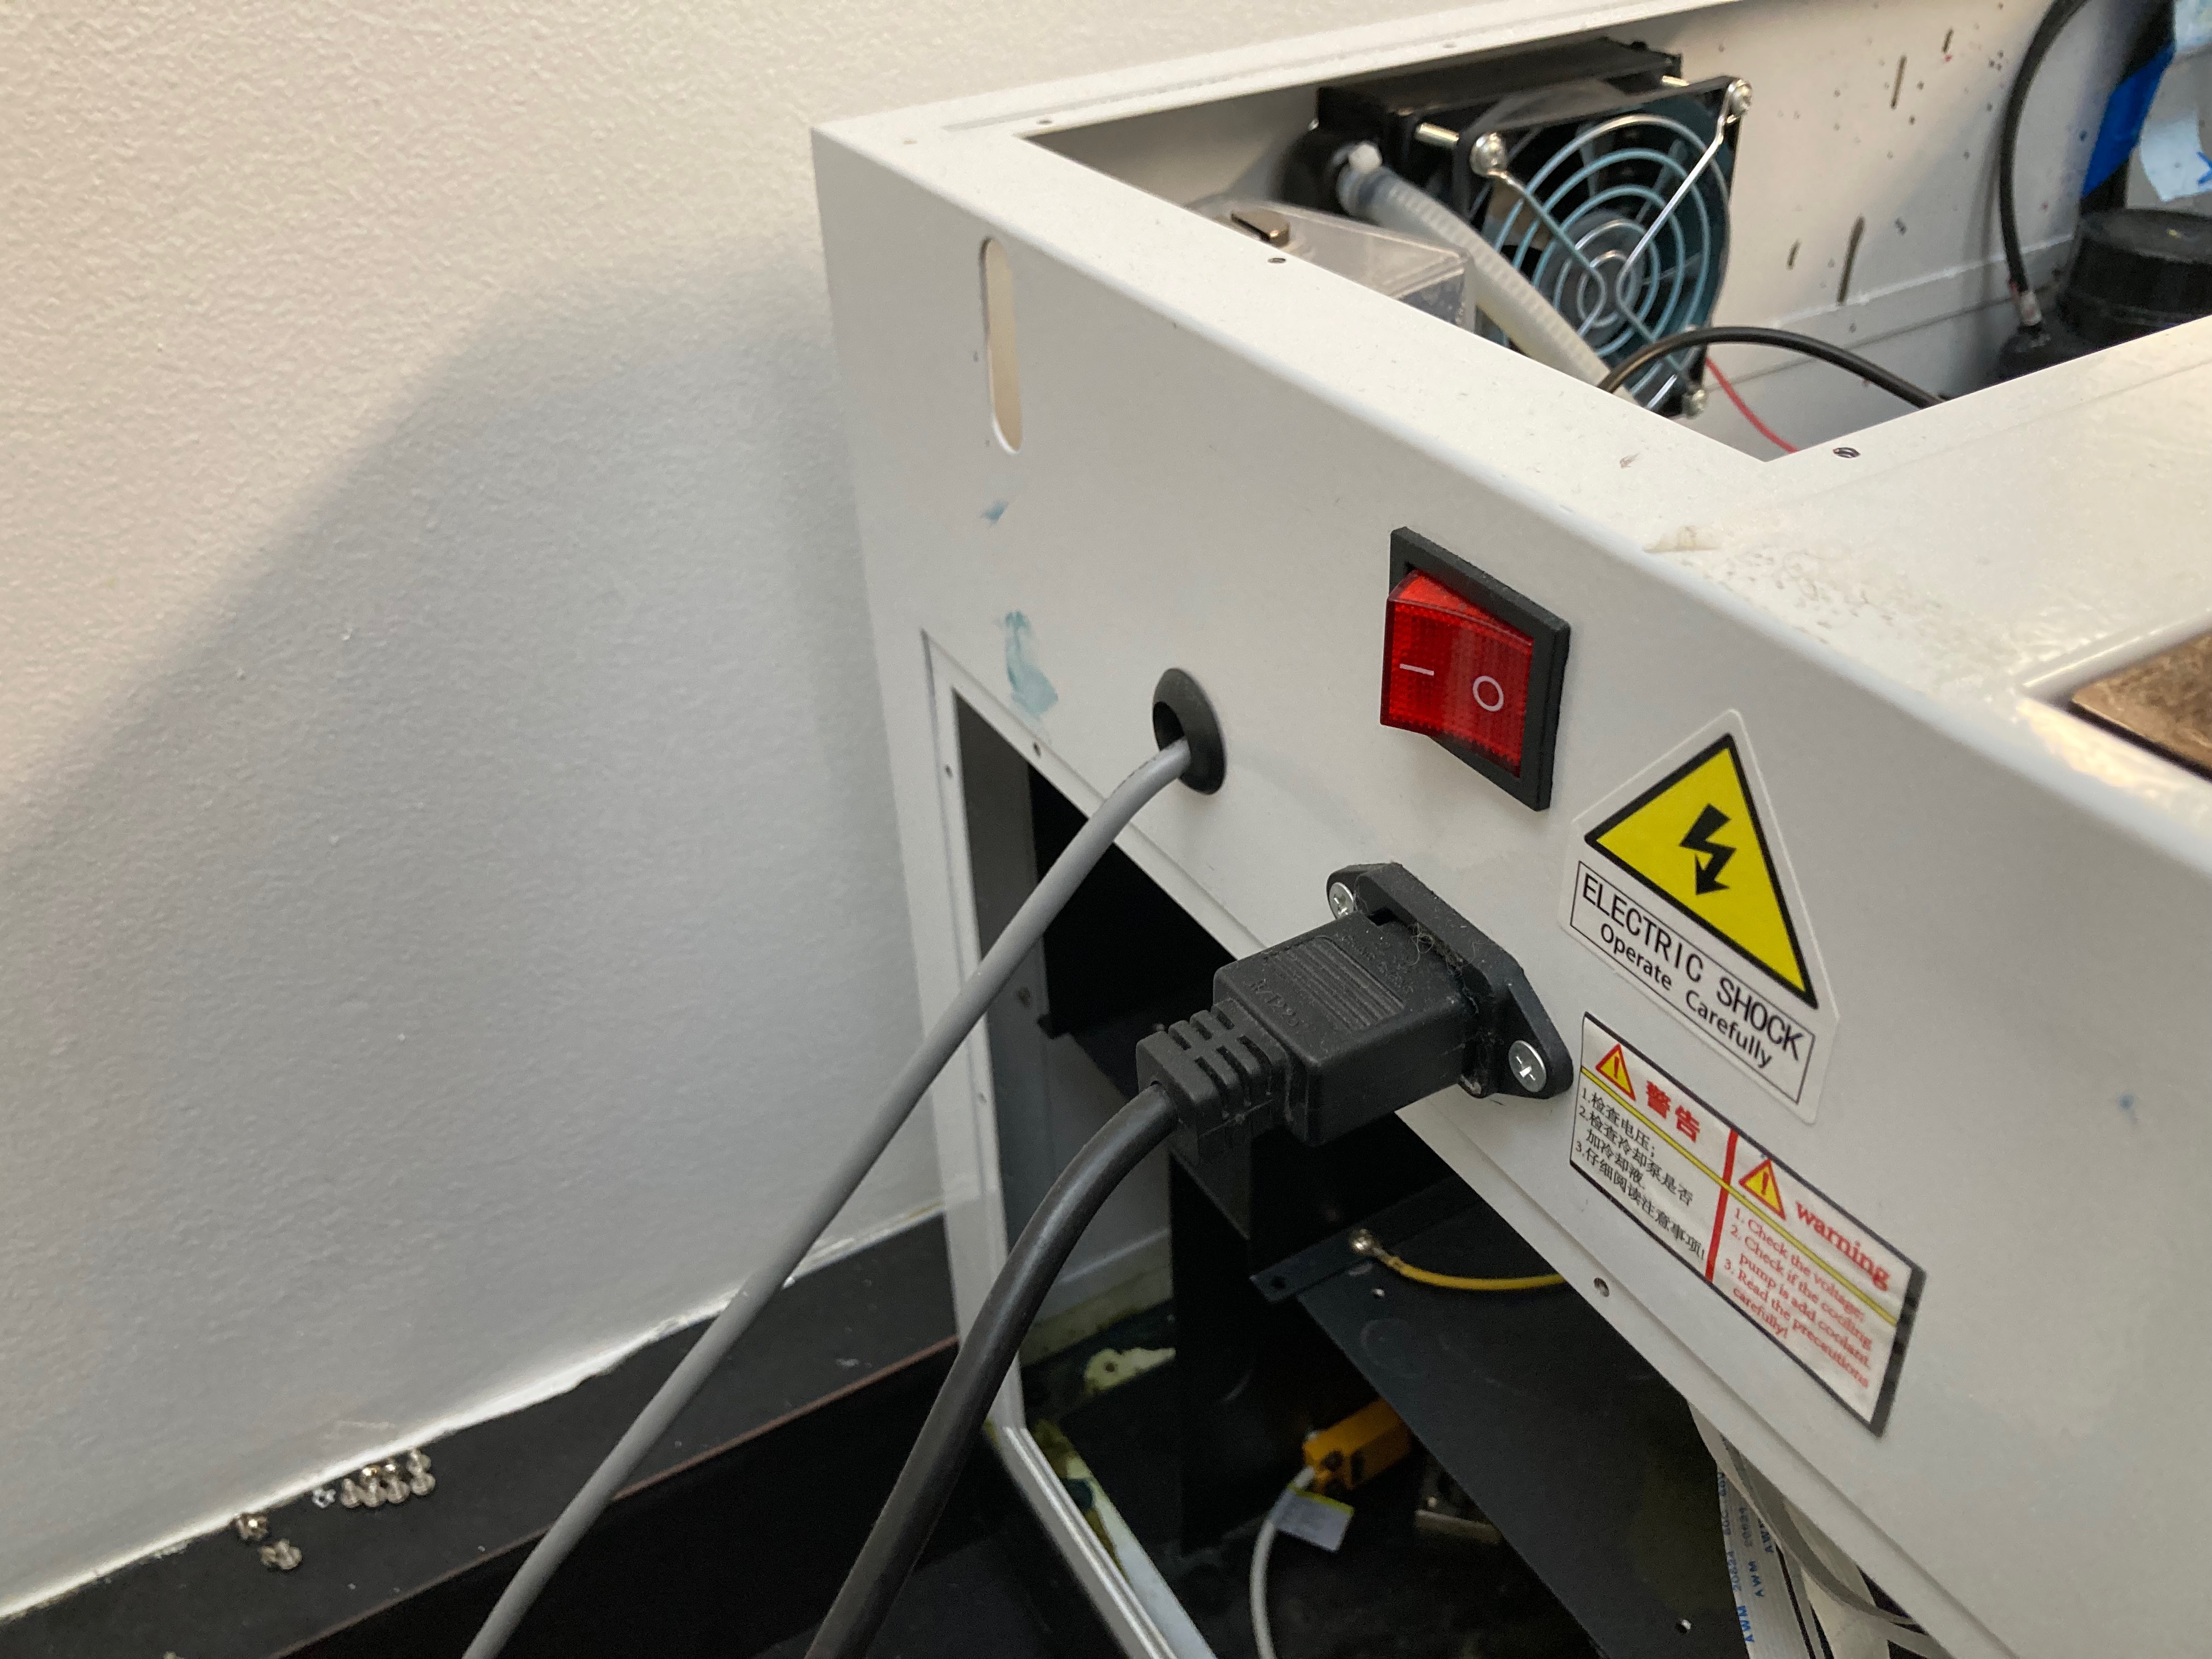
The printer has a large main power switch on the back left. The actual Epson L800 has a soft power switch.
Loading Media
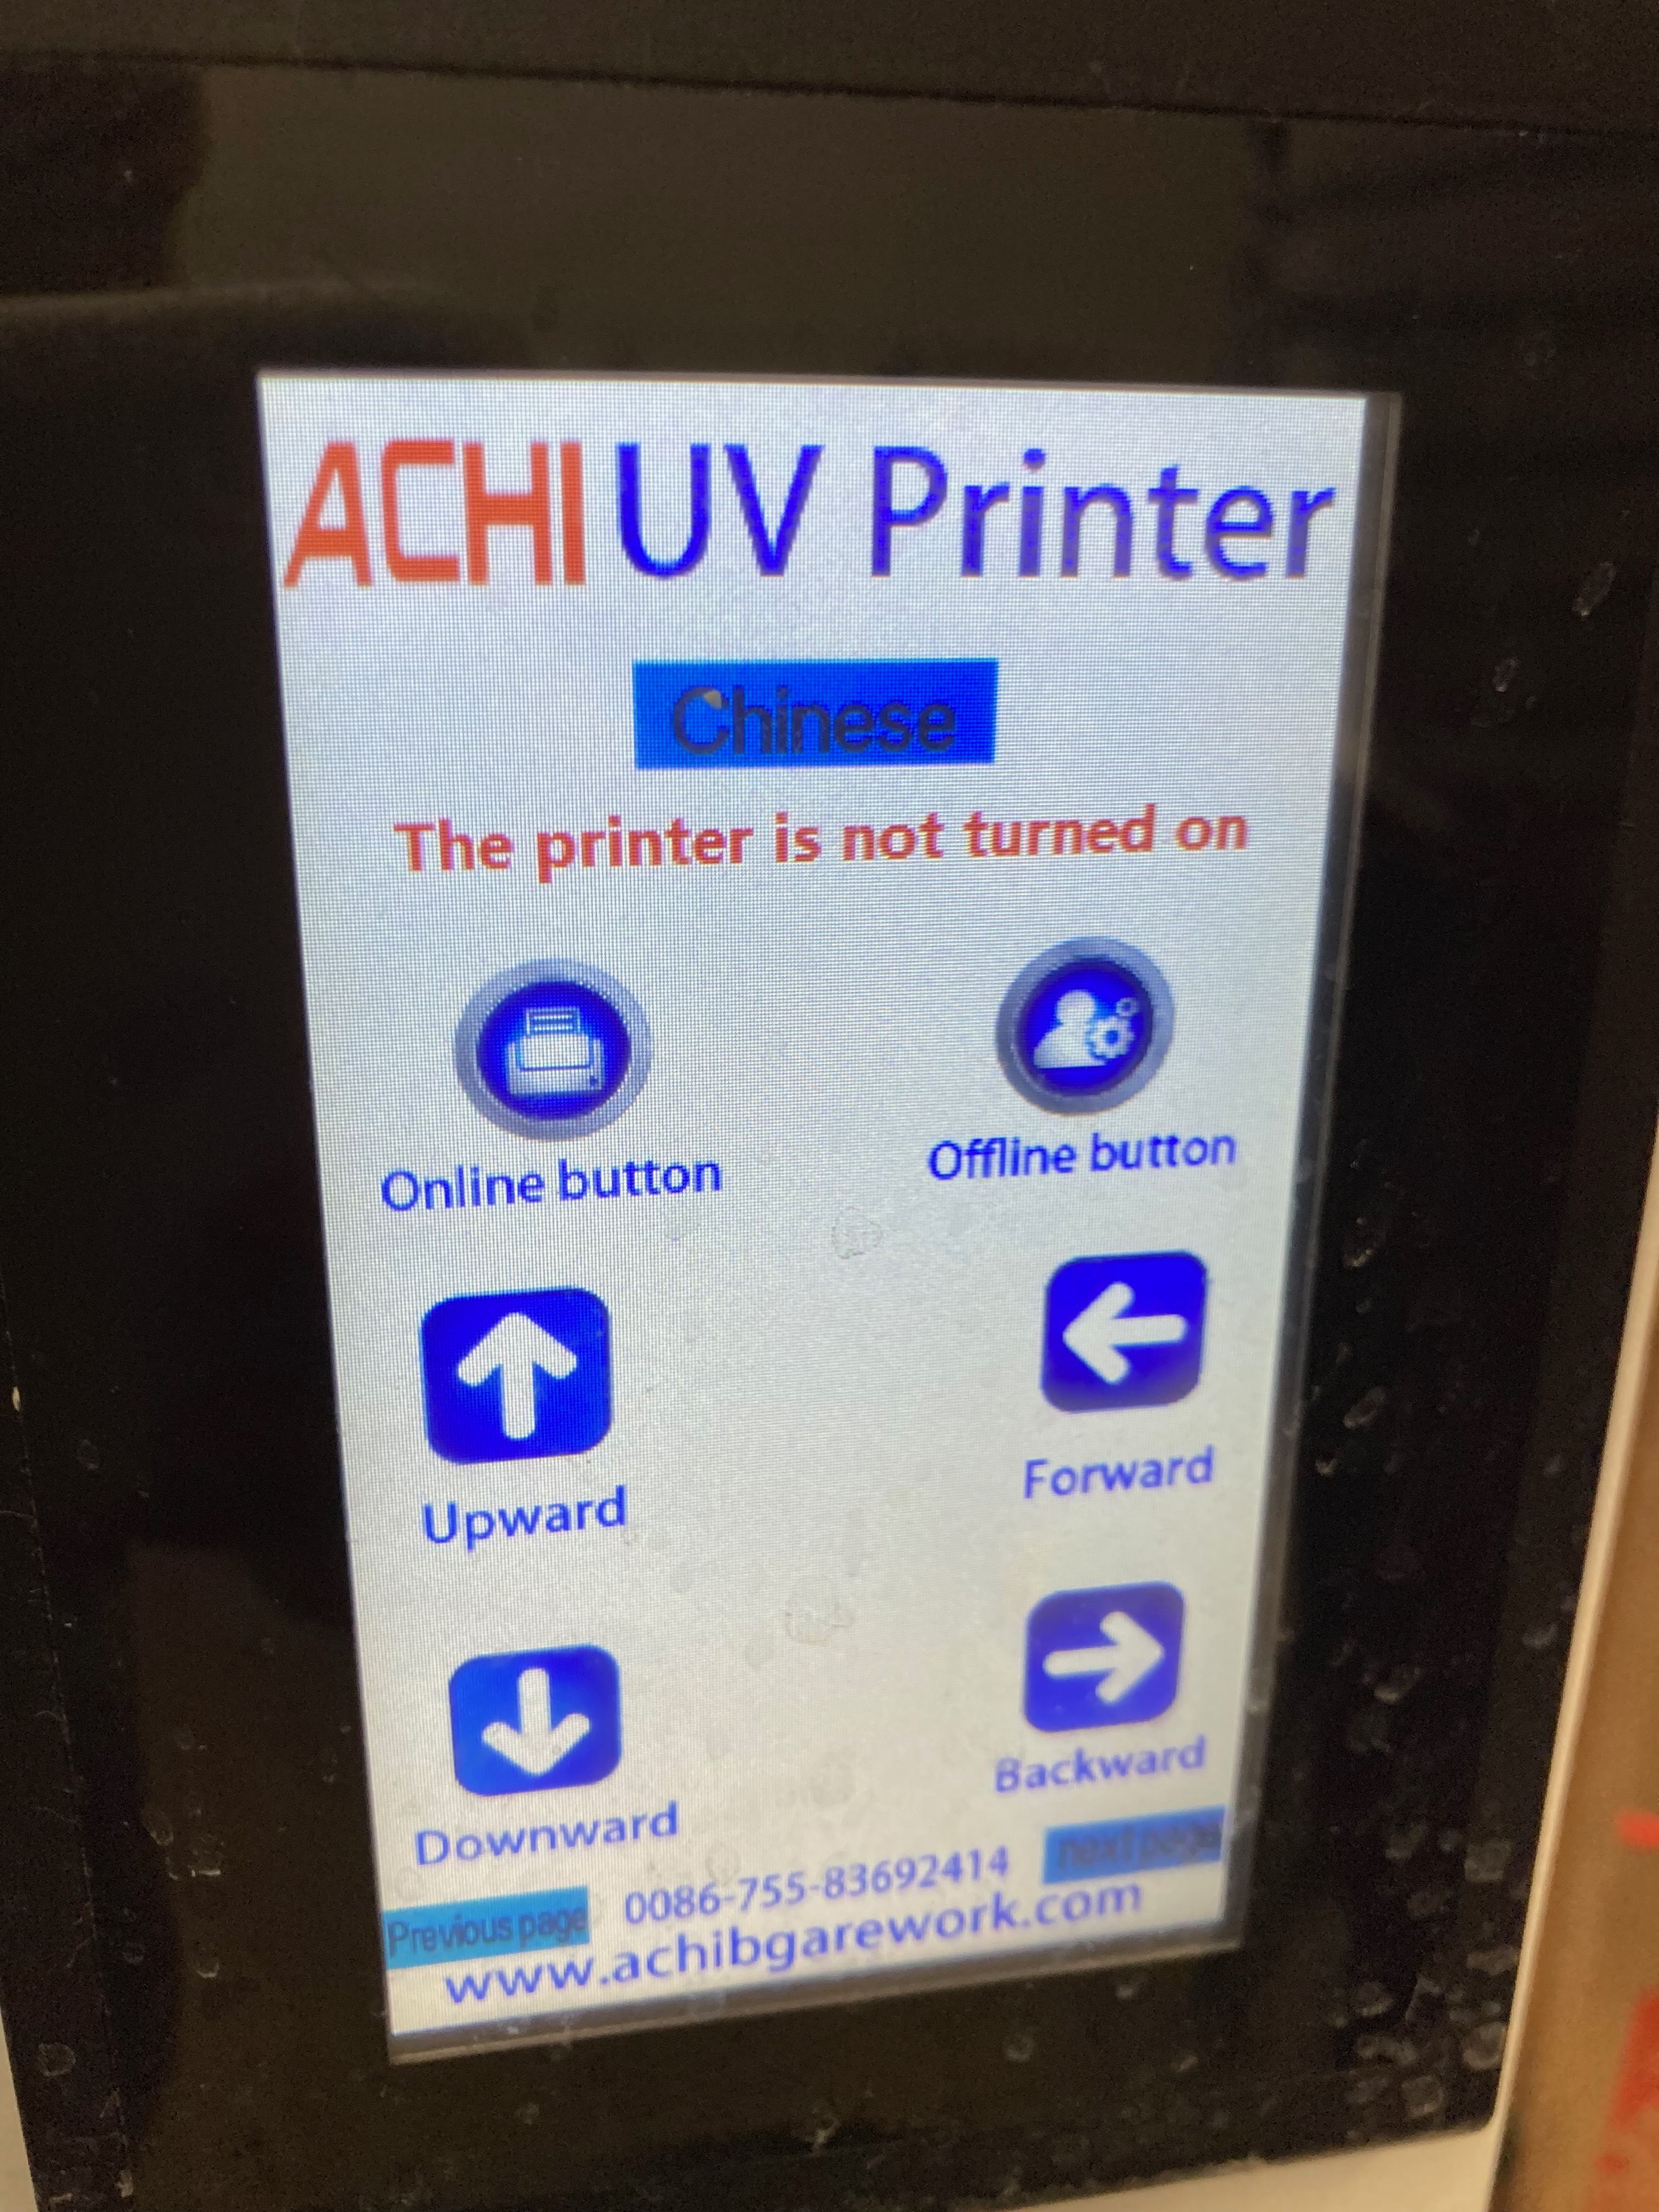
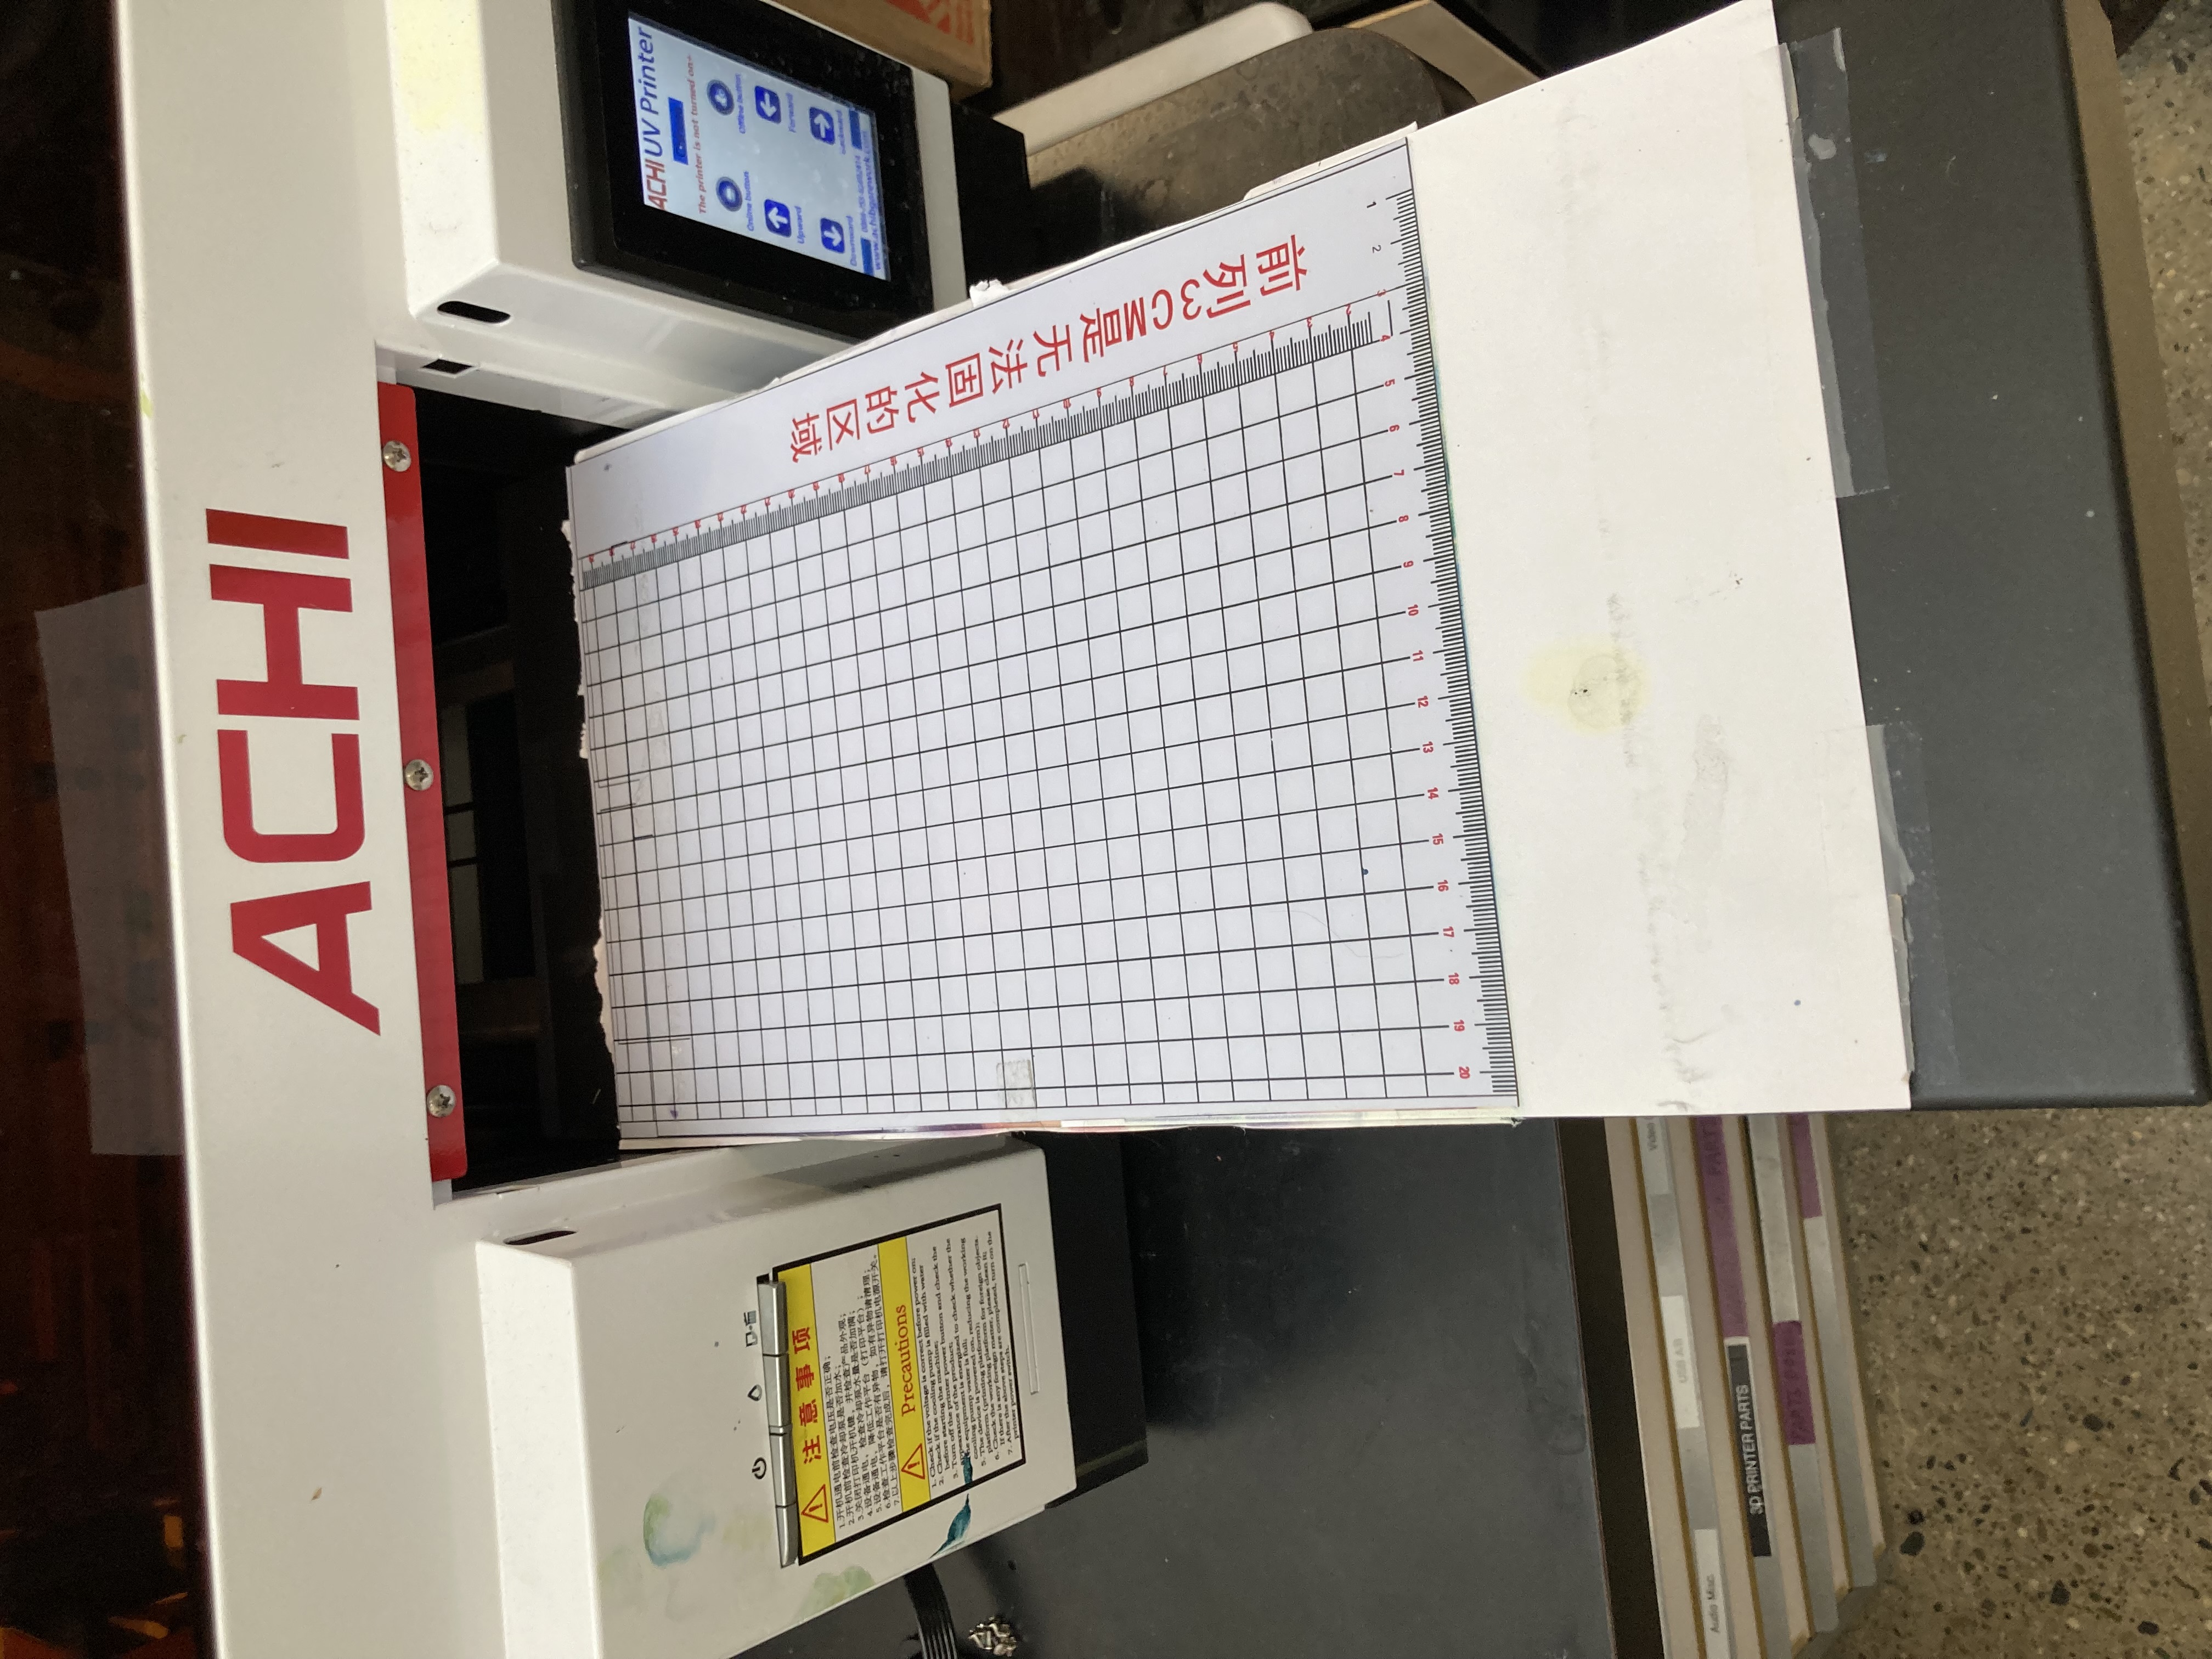
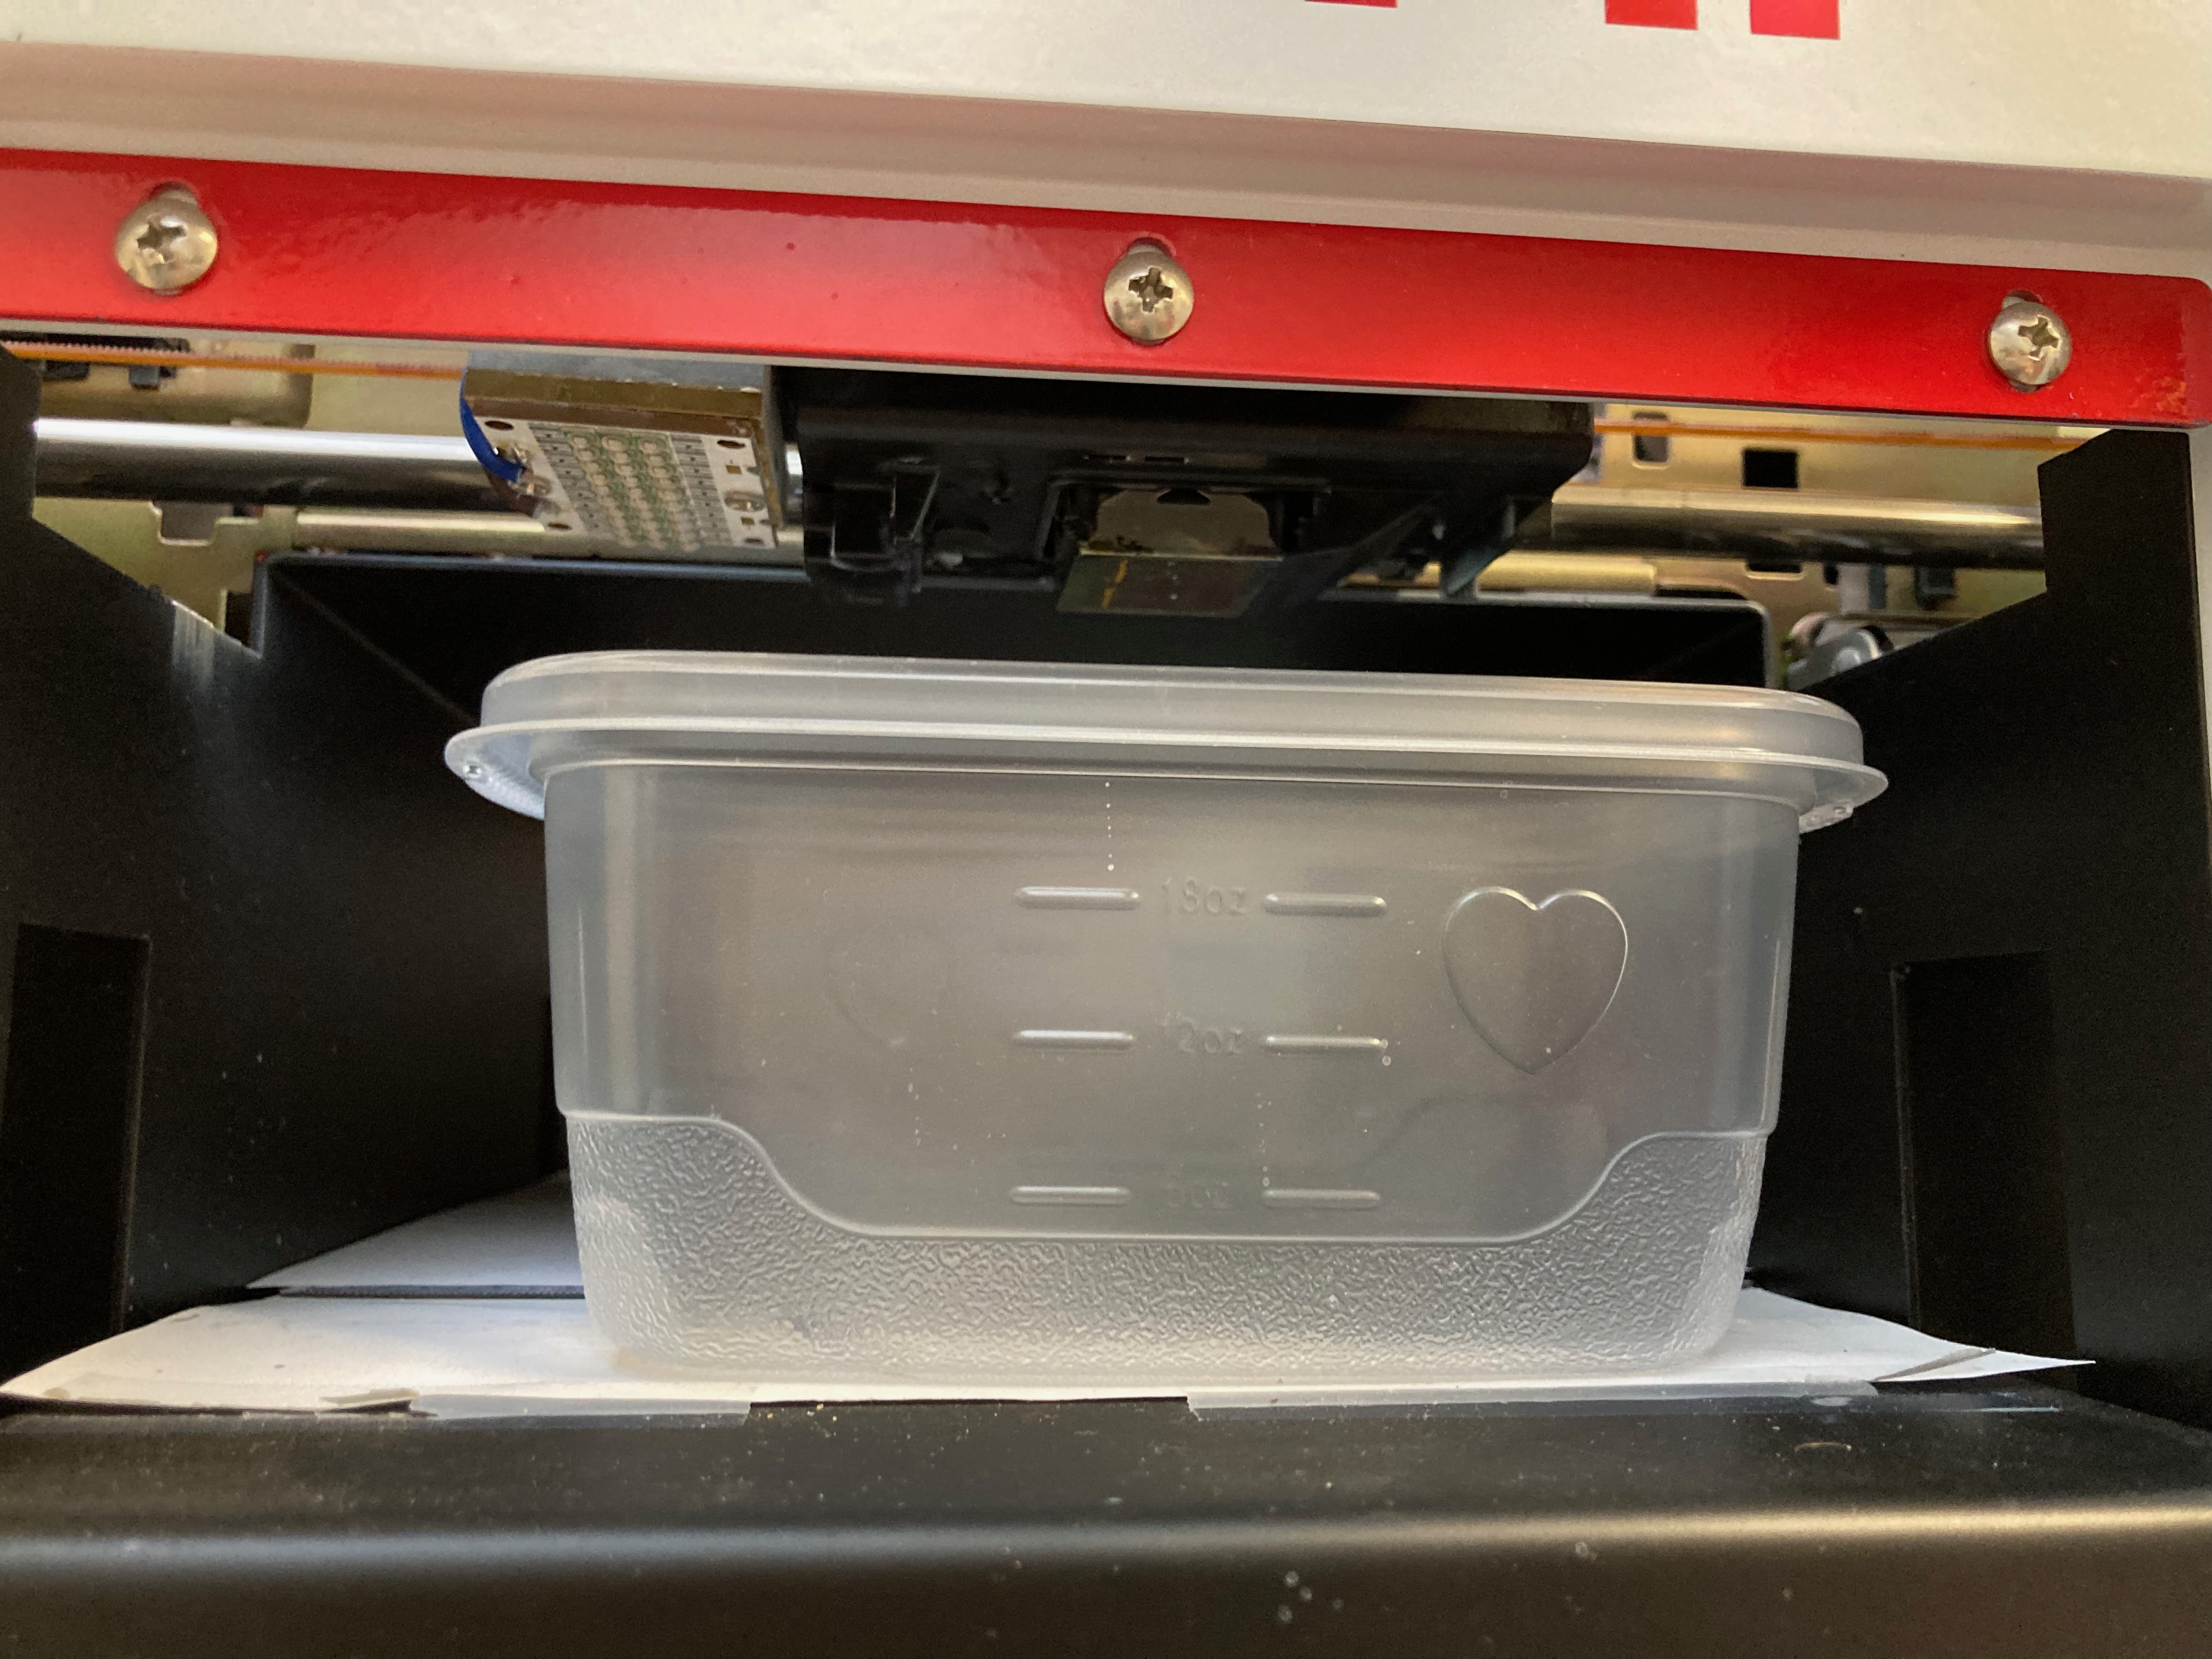
Once the embedded computer and screen are on, use the interface to lower the flatbed and move it out. Place your objects on the bed. Once you put the printer back in "Online" mode and print, the bed will be retracted and slowly raised until a beam detects the top of the object to be printed upon.
Software
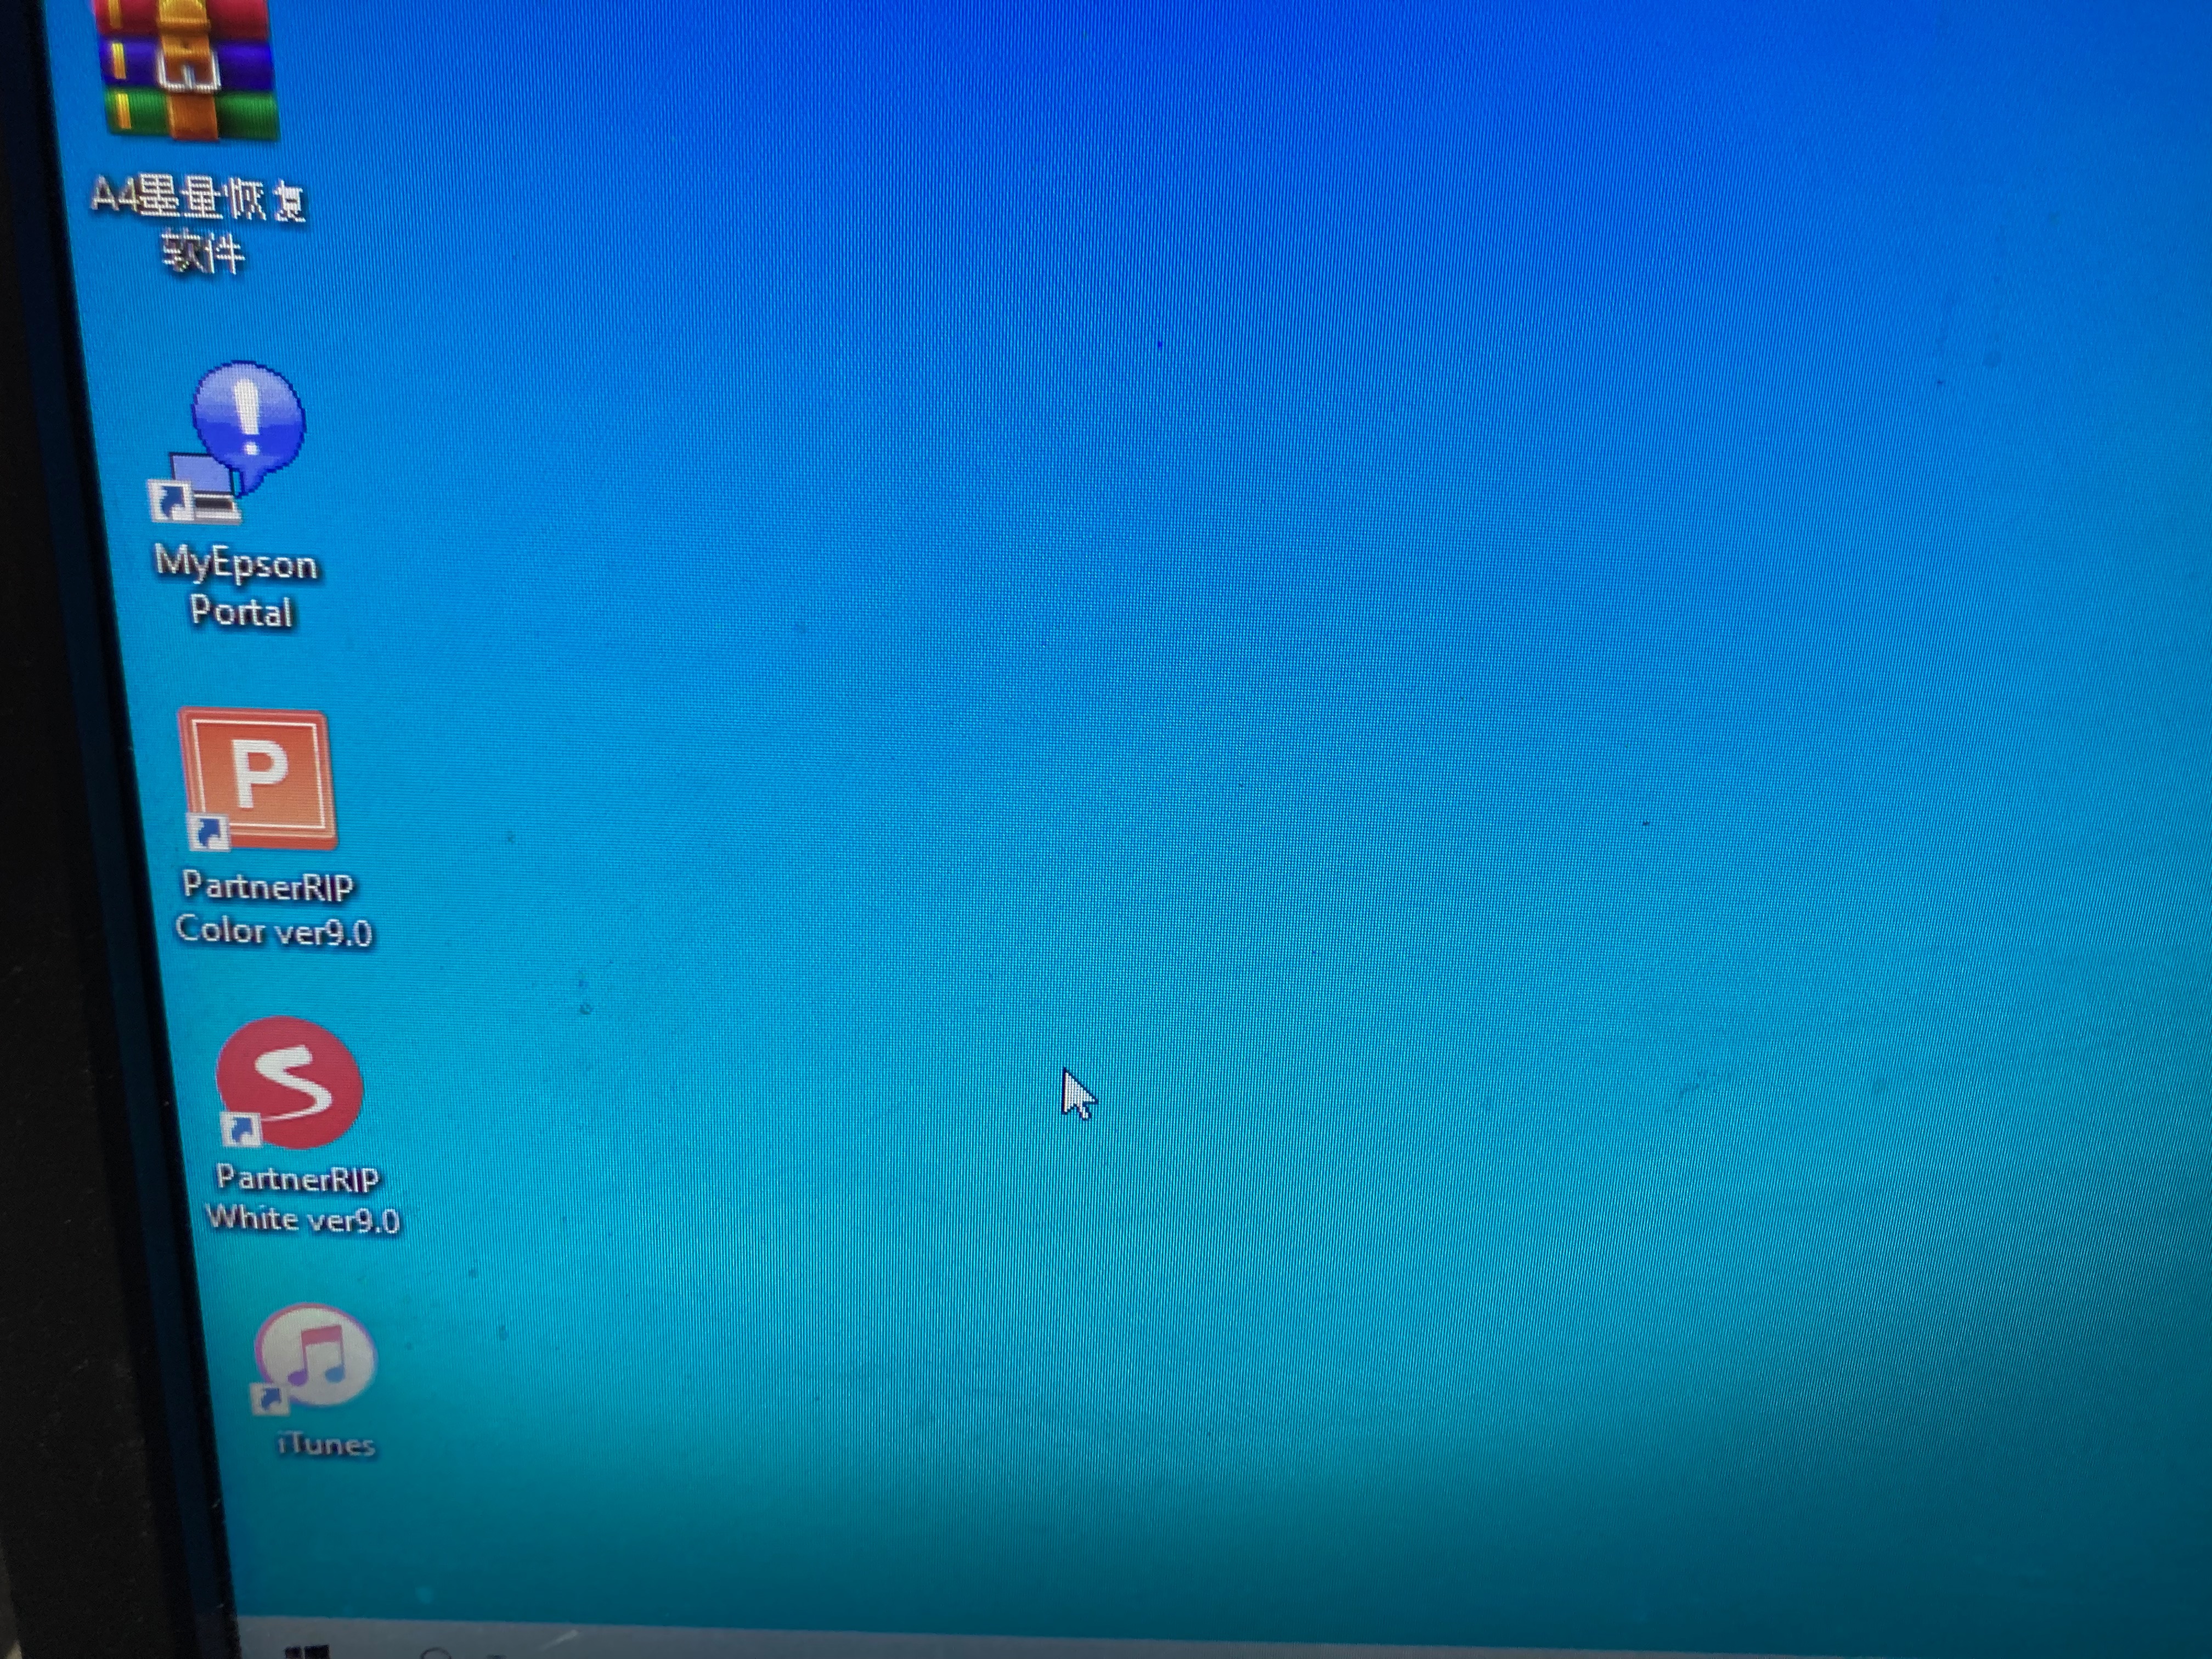
The software rips the graphics differently than normal printer drivers. Usually a graphic is ripped into CMYK channels. The "PartnerRip White" software rips a graphic (TIFF, PNG, JPEG, etc) into CMYK and also two channels of White using settings you specify. You can turn the white off if you are printing on an opaque object.
The software, "PartnerRip White", is installed on the Windows 10 machine next to the printer. The software requires a USB dongle which is plugged in to the back of the computer. There is a spare dongle in the UV Flatbed Parts Tote. Someone in the software supply chain decided to make extra money by cryptomining, so be sure never to connect this computer to the internet.
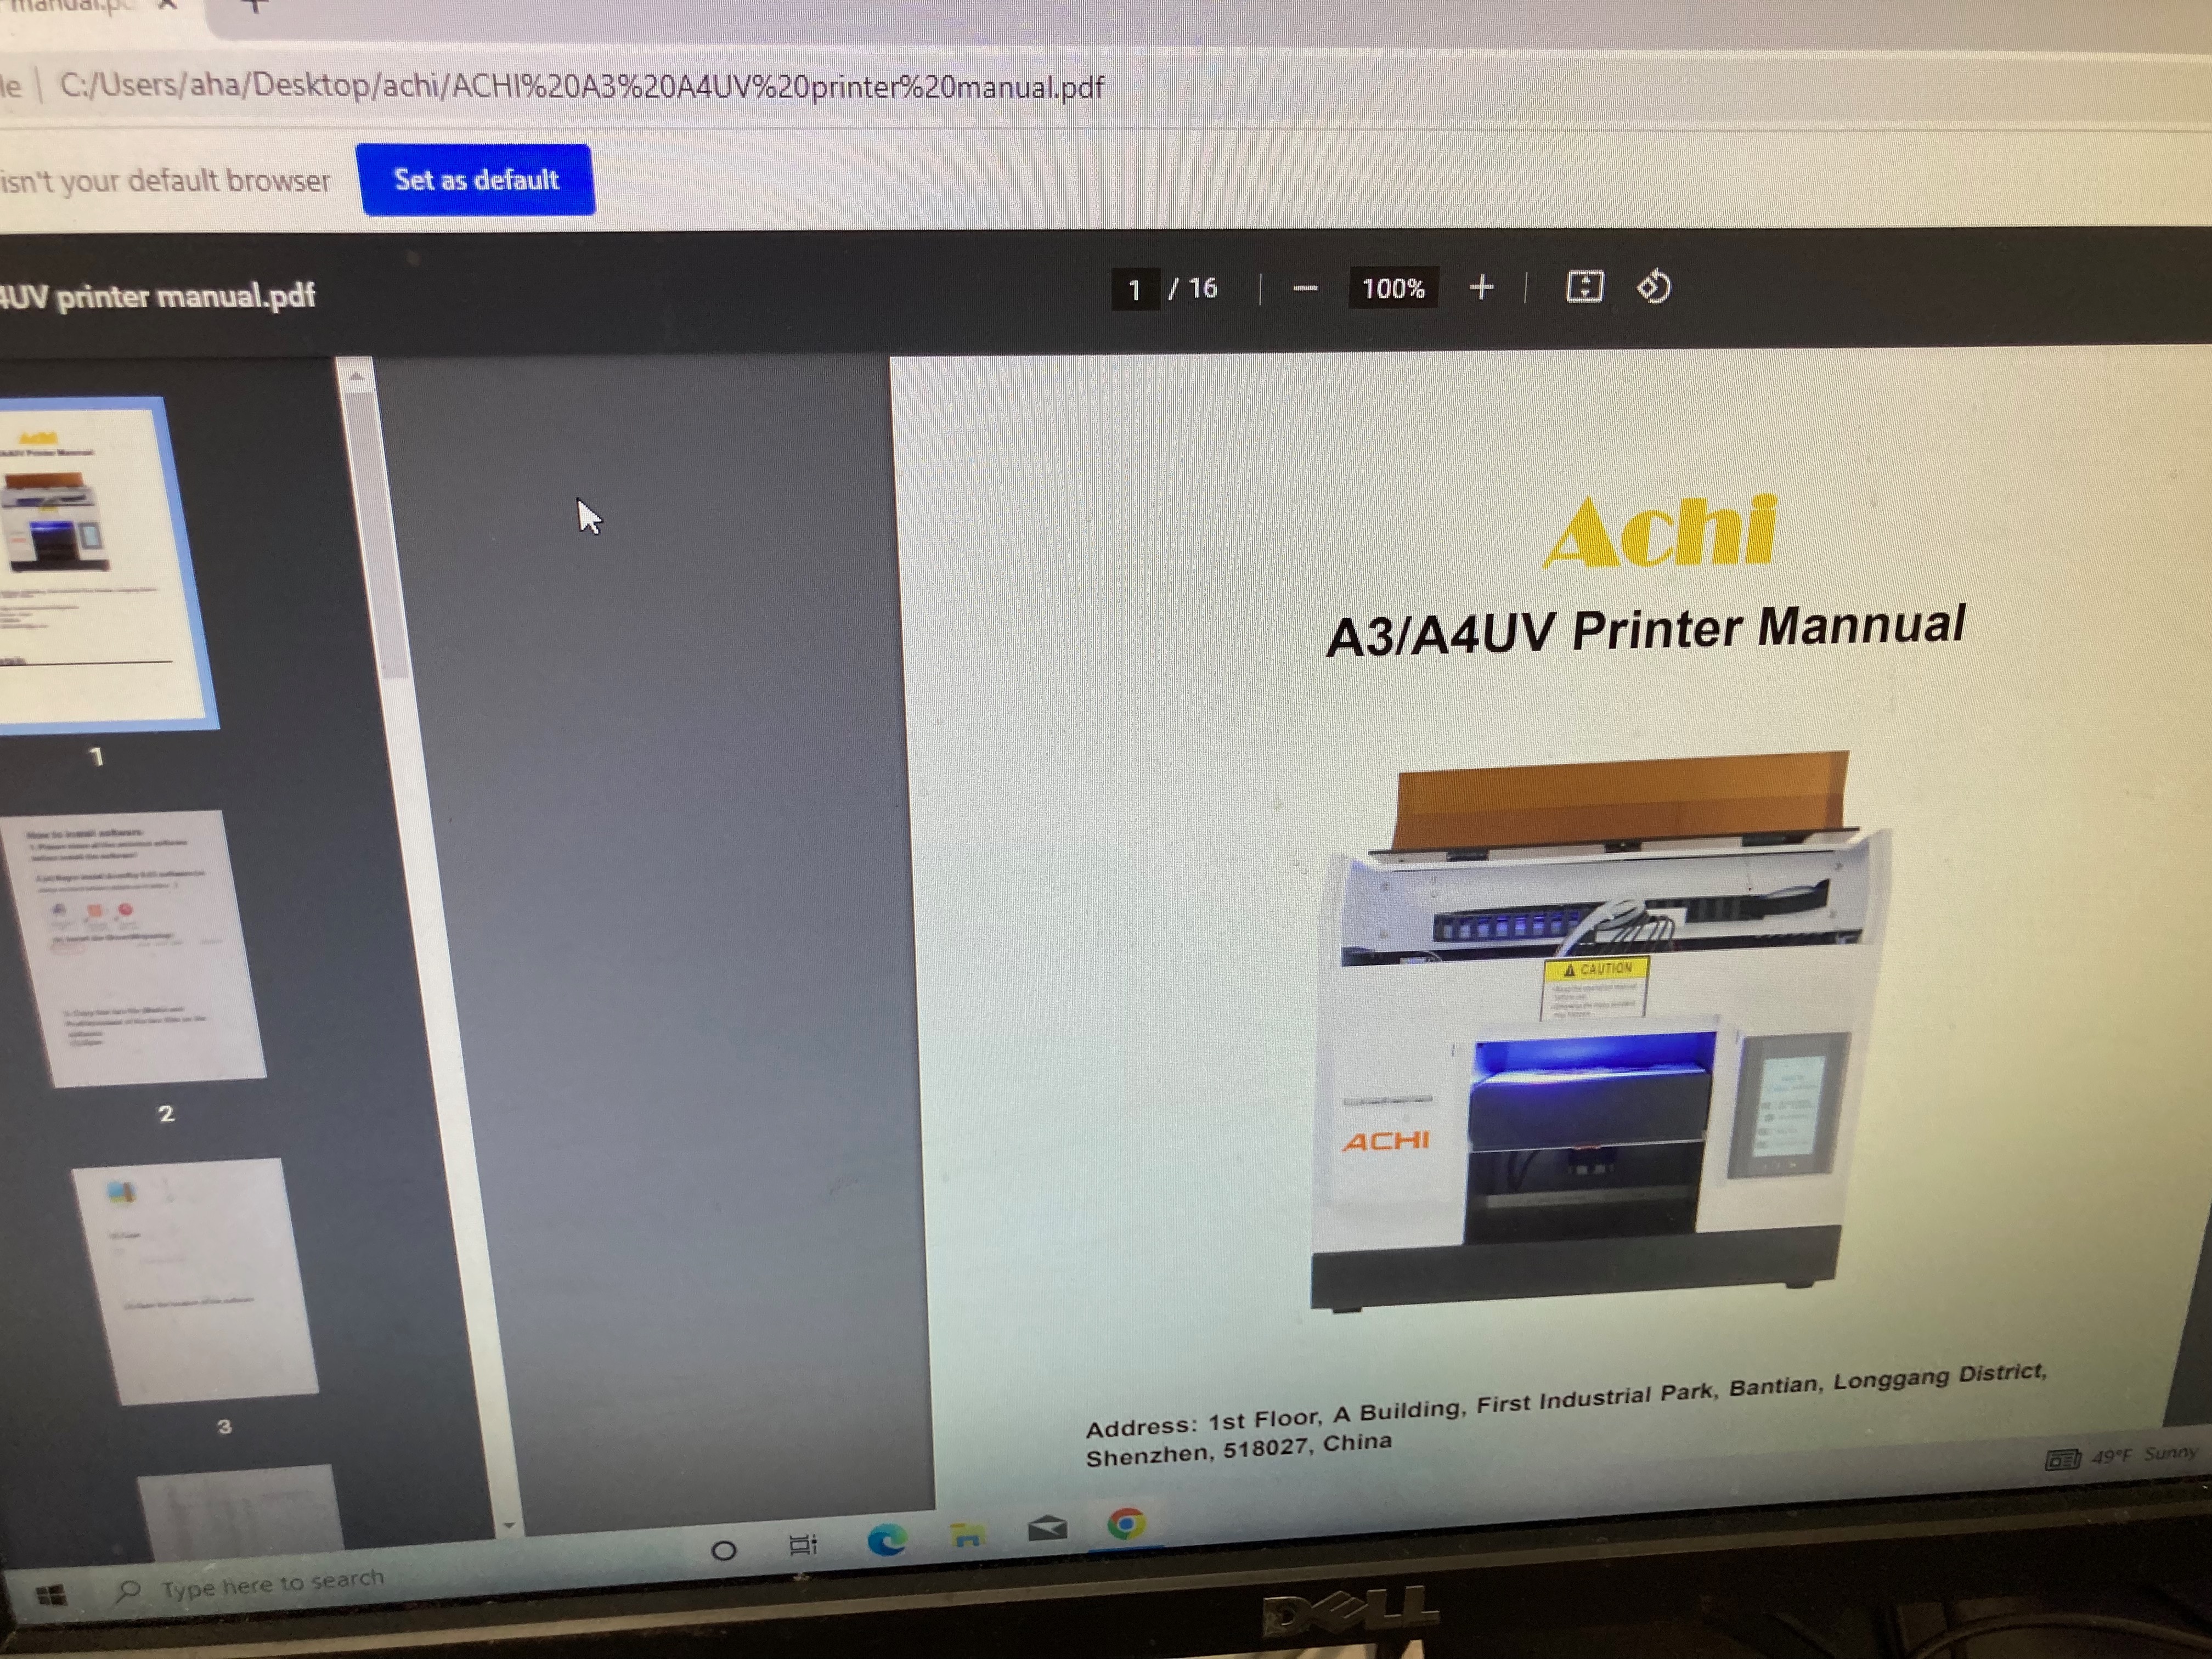
The documentation is in a folder on the desktop. The documentation should be consulted for more details than this wiki.
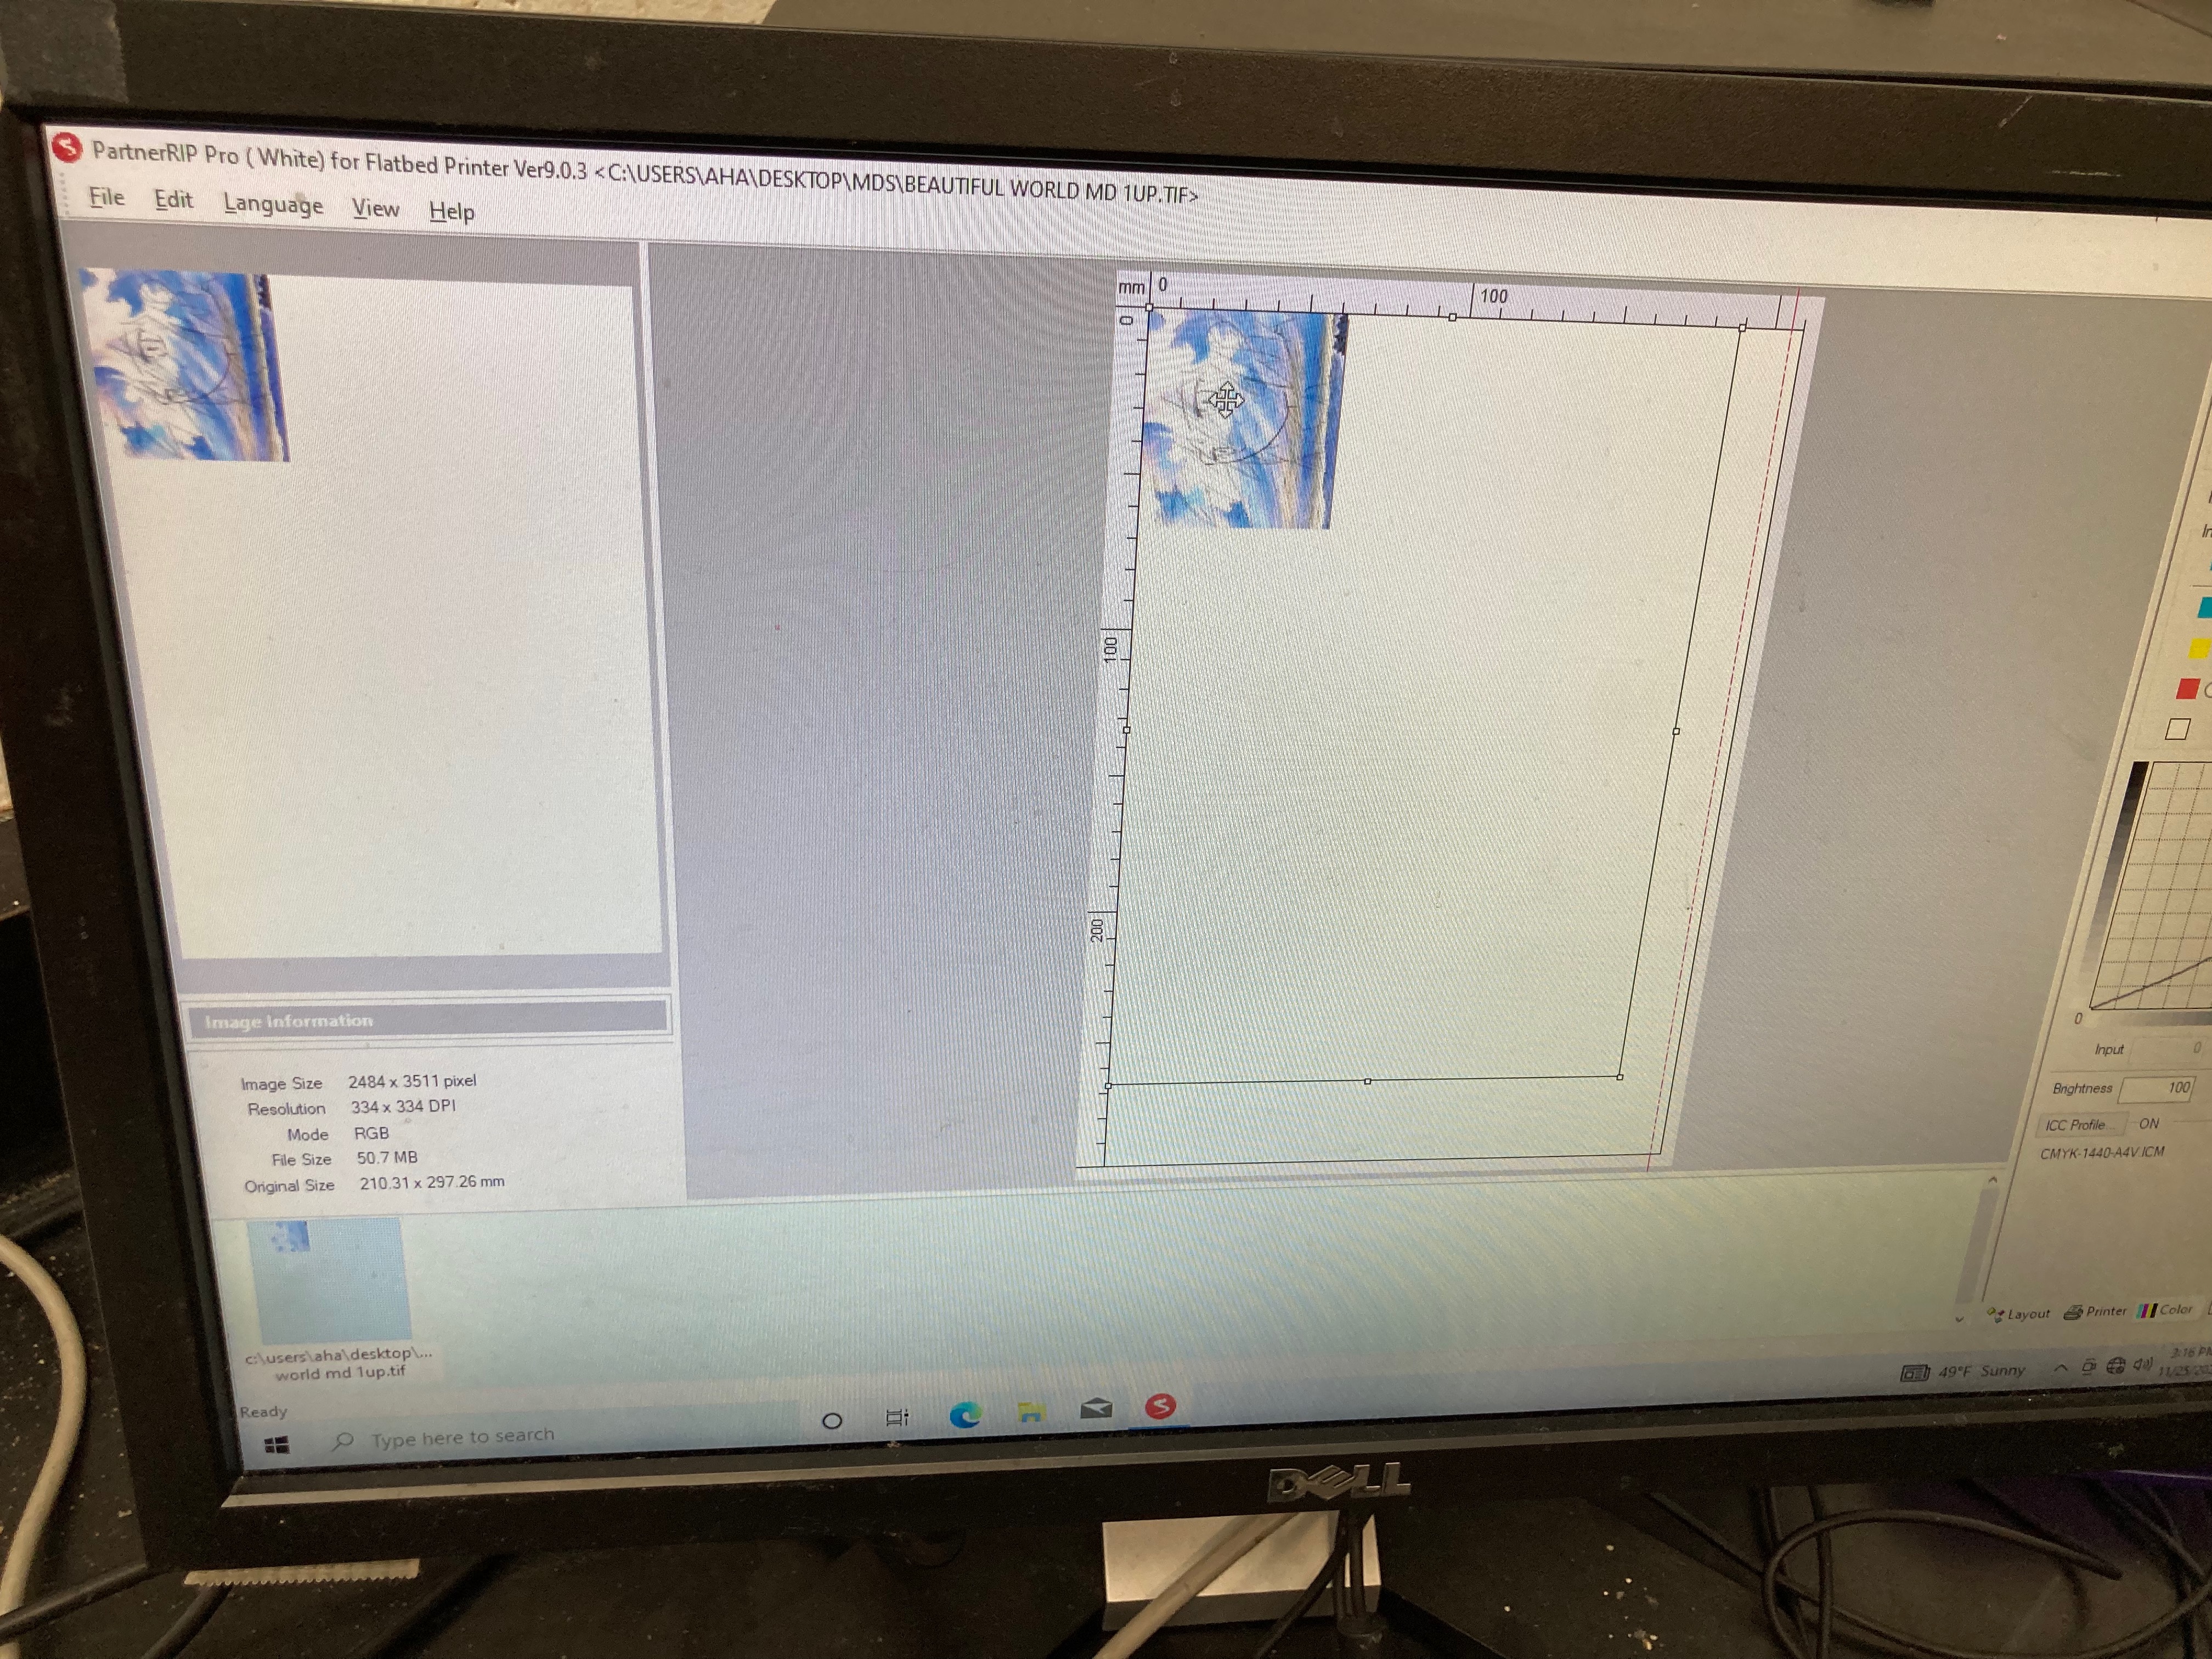
To use, open the software, place one or more graphics on the displayed grid, and print.
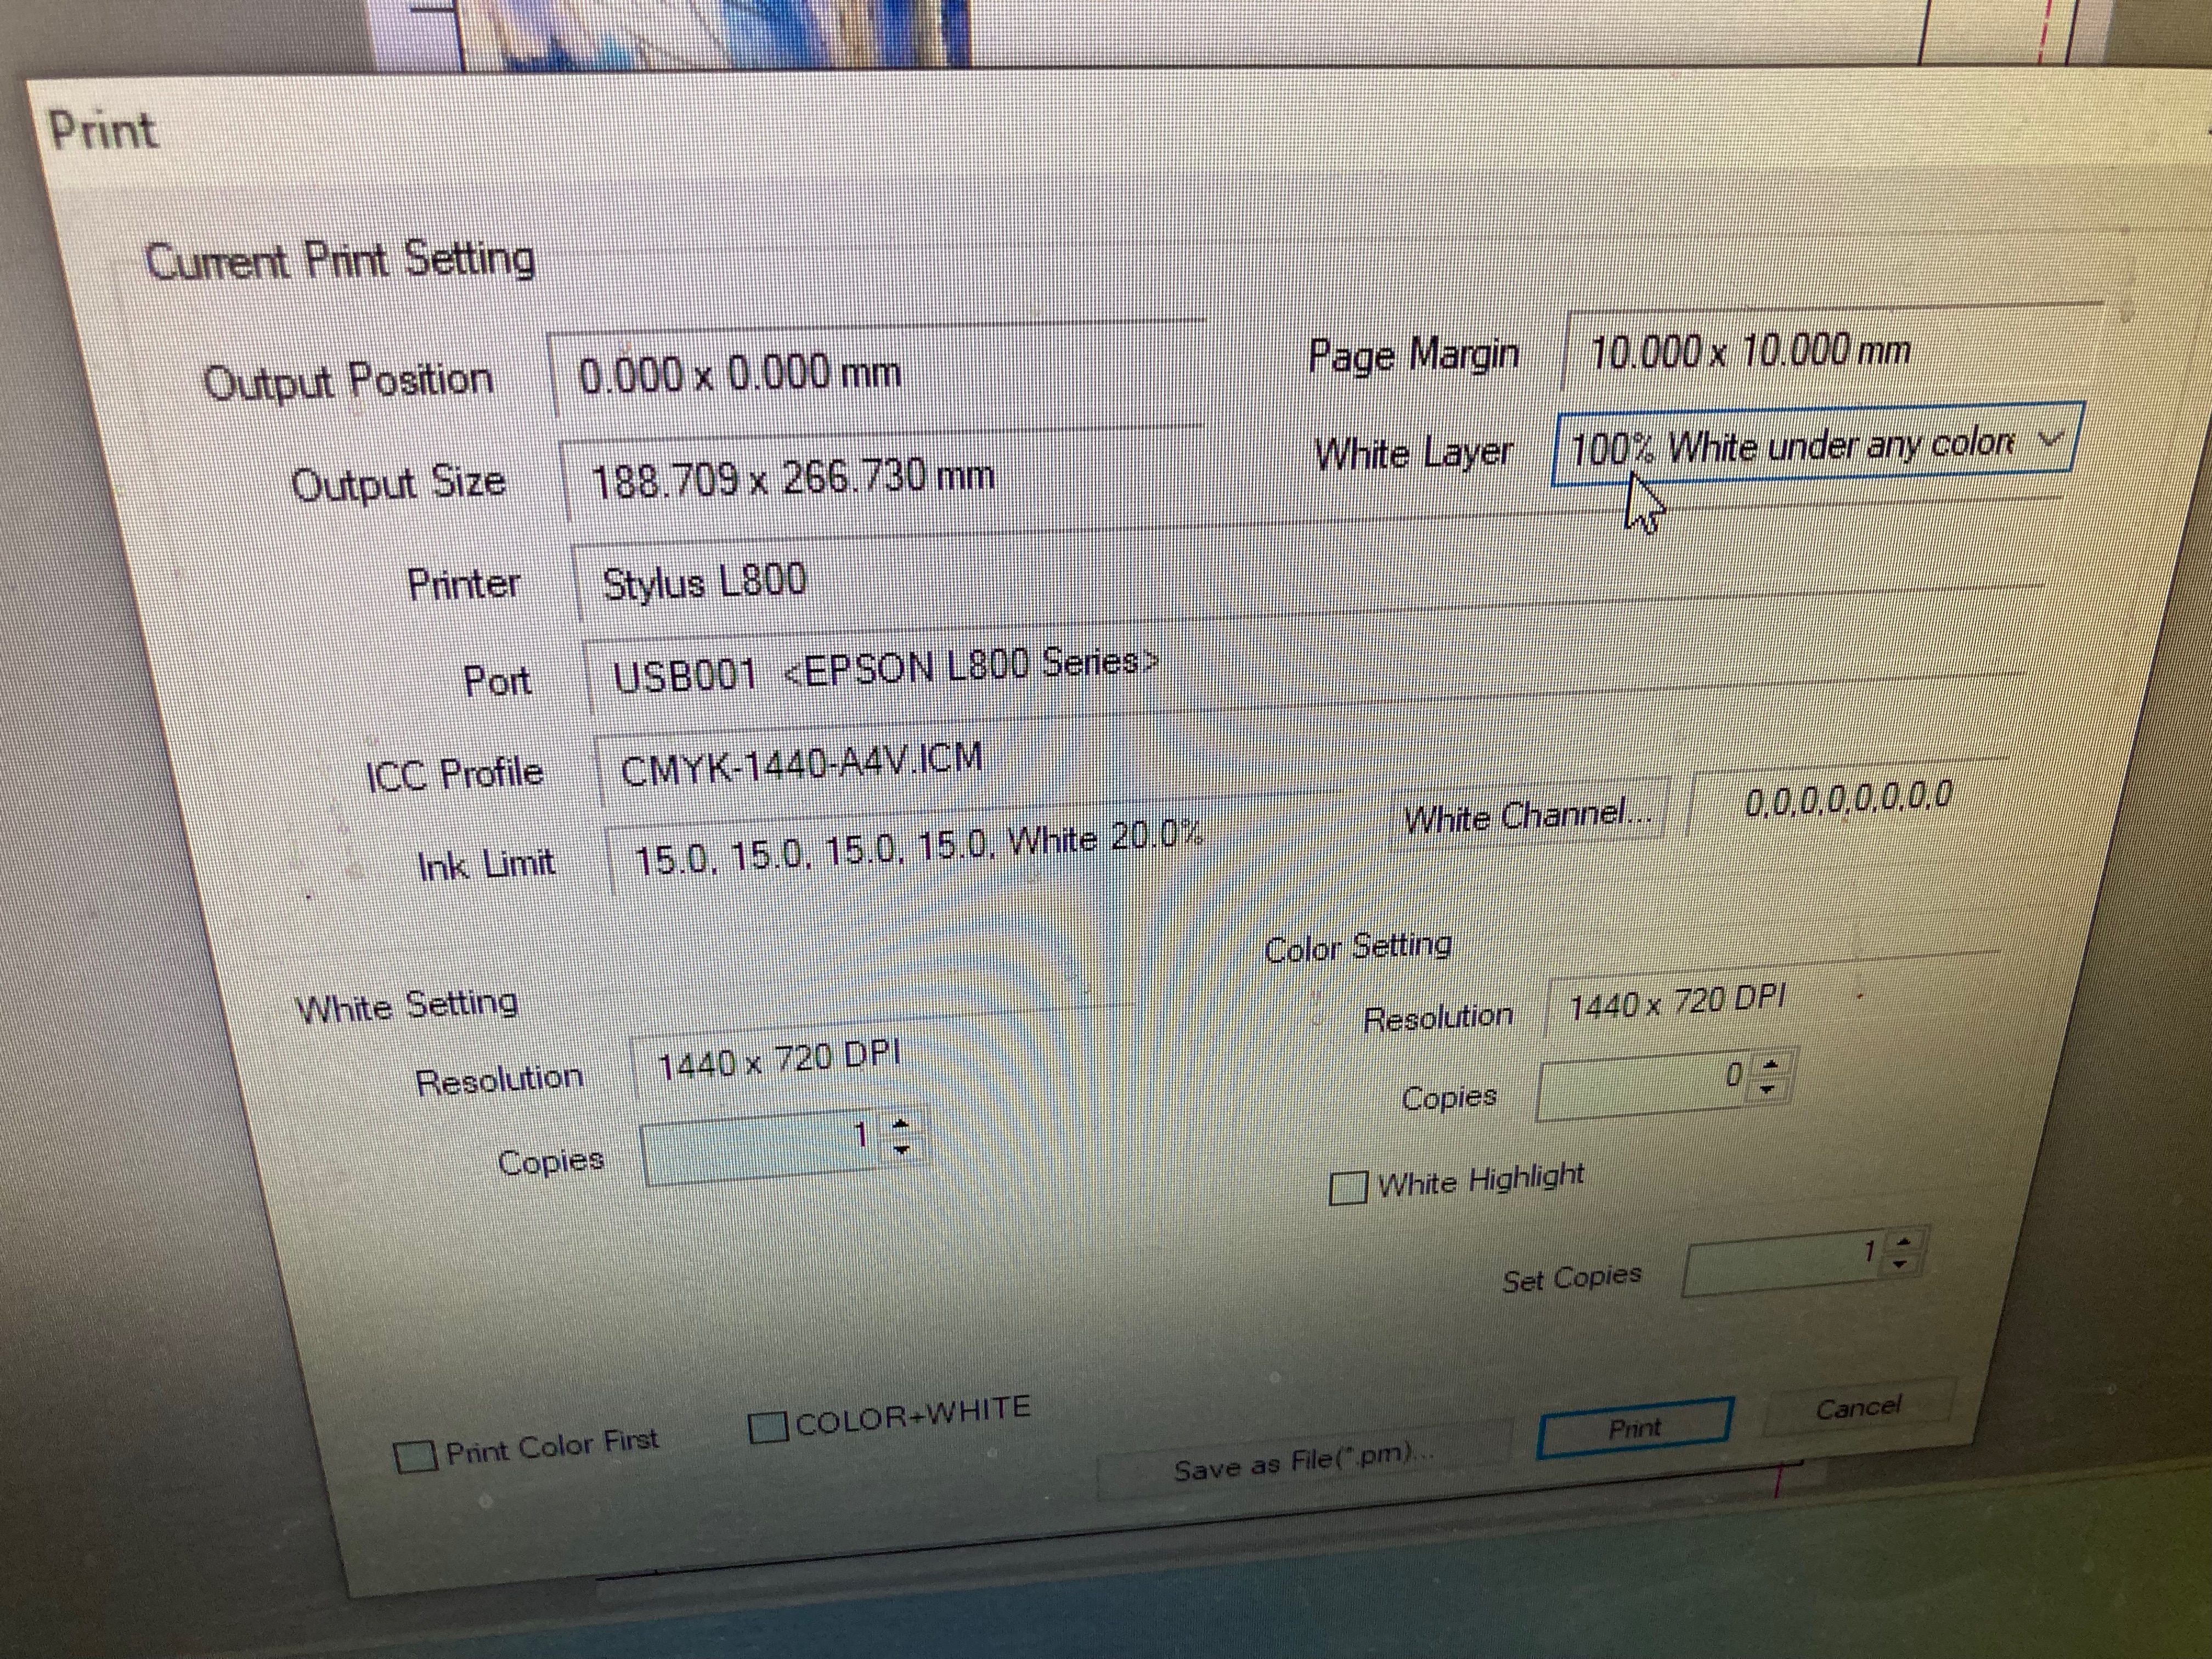
If everything is working properly, you will see the UV light come on (be careful; it is very powerful. Wear sunglasses or suitable protection) and the print head move back and forth.
Maintenance
Cleaning

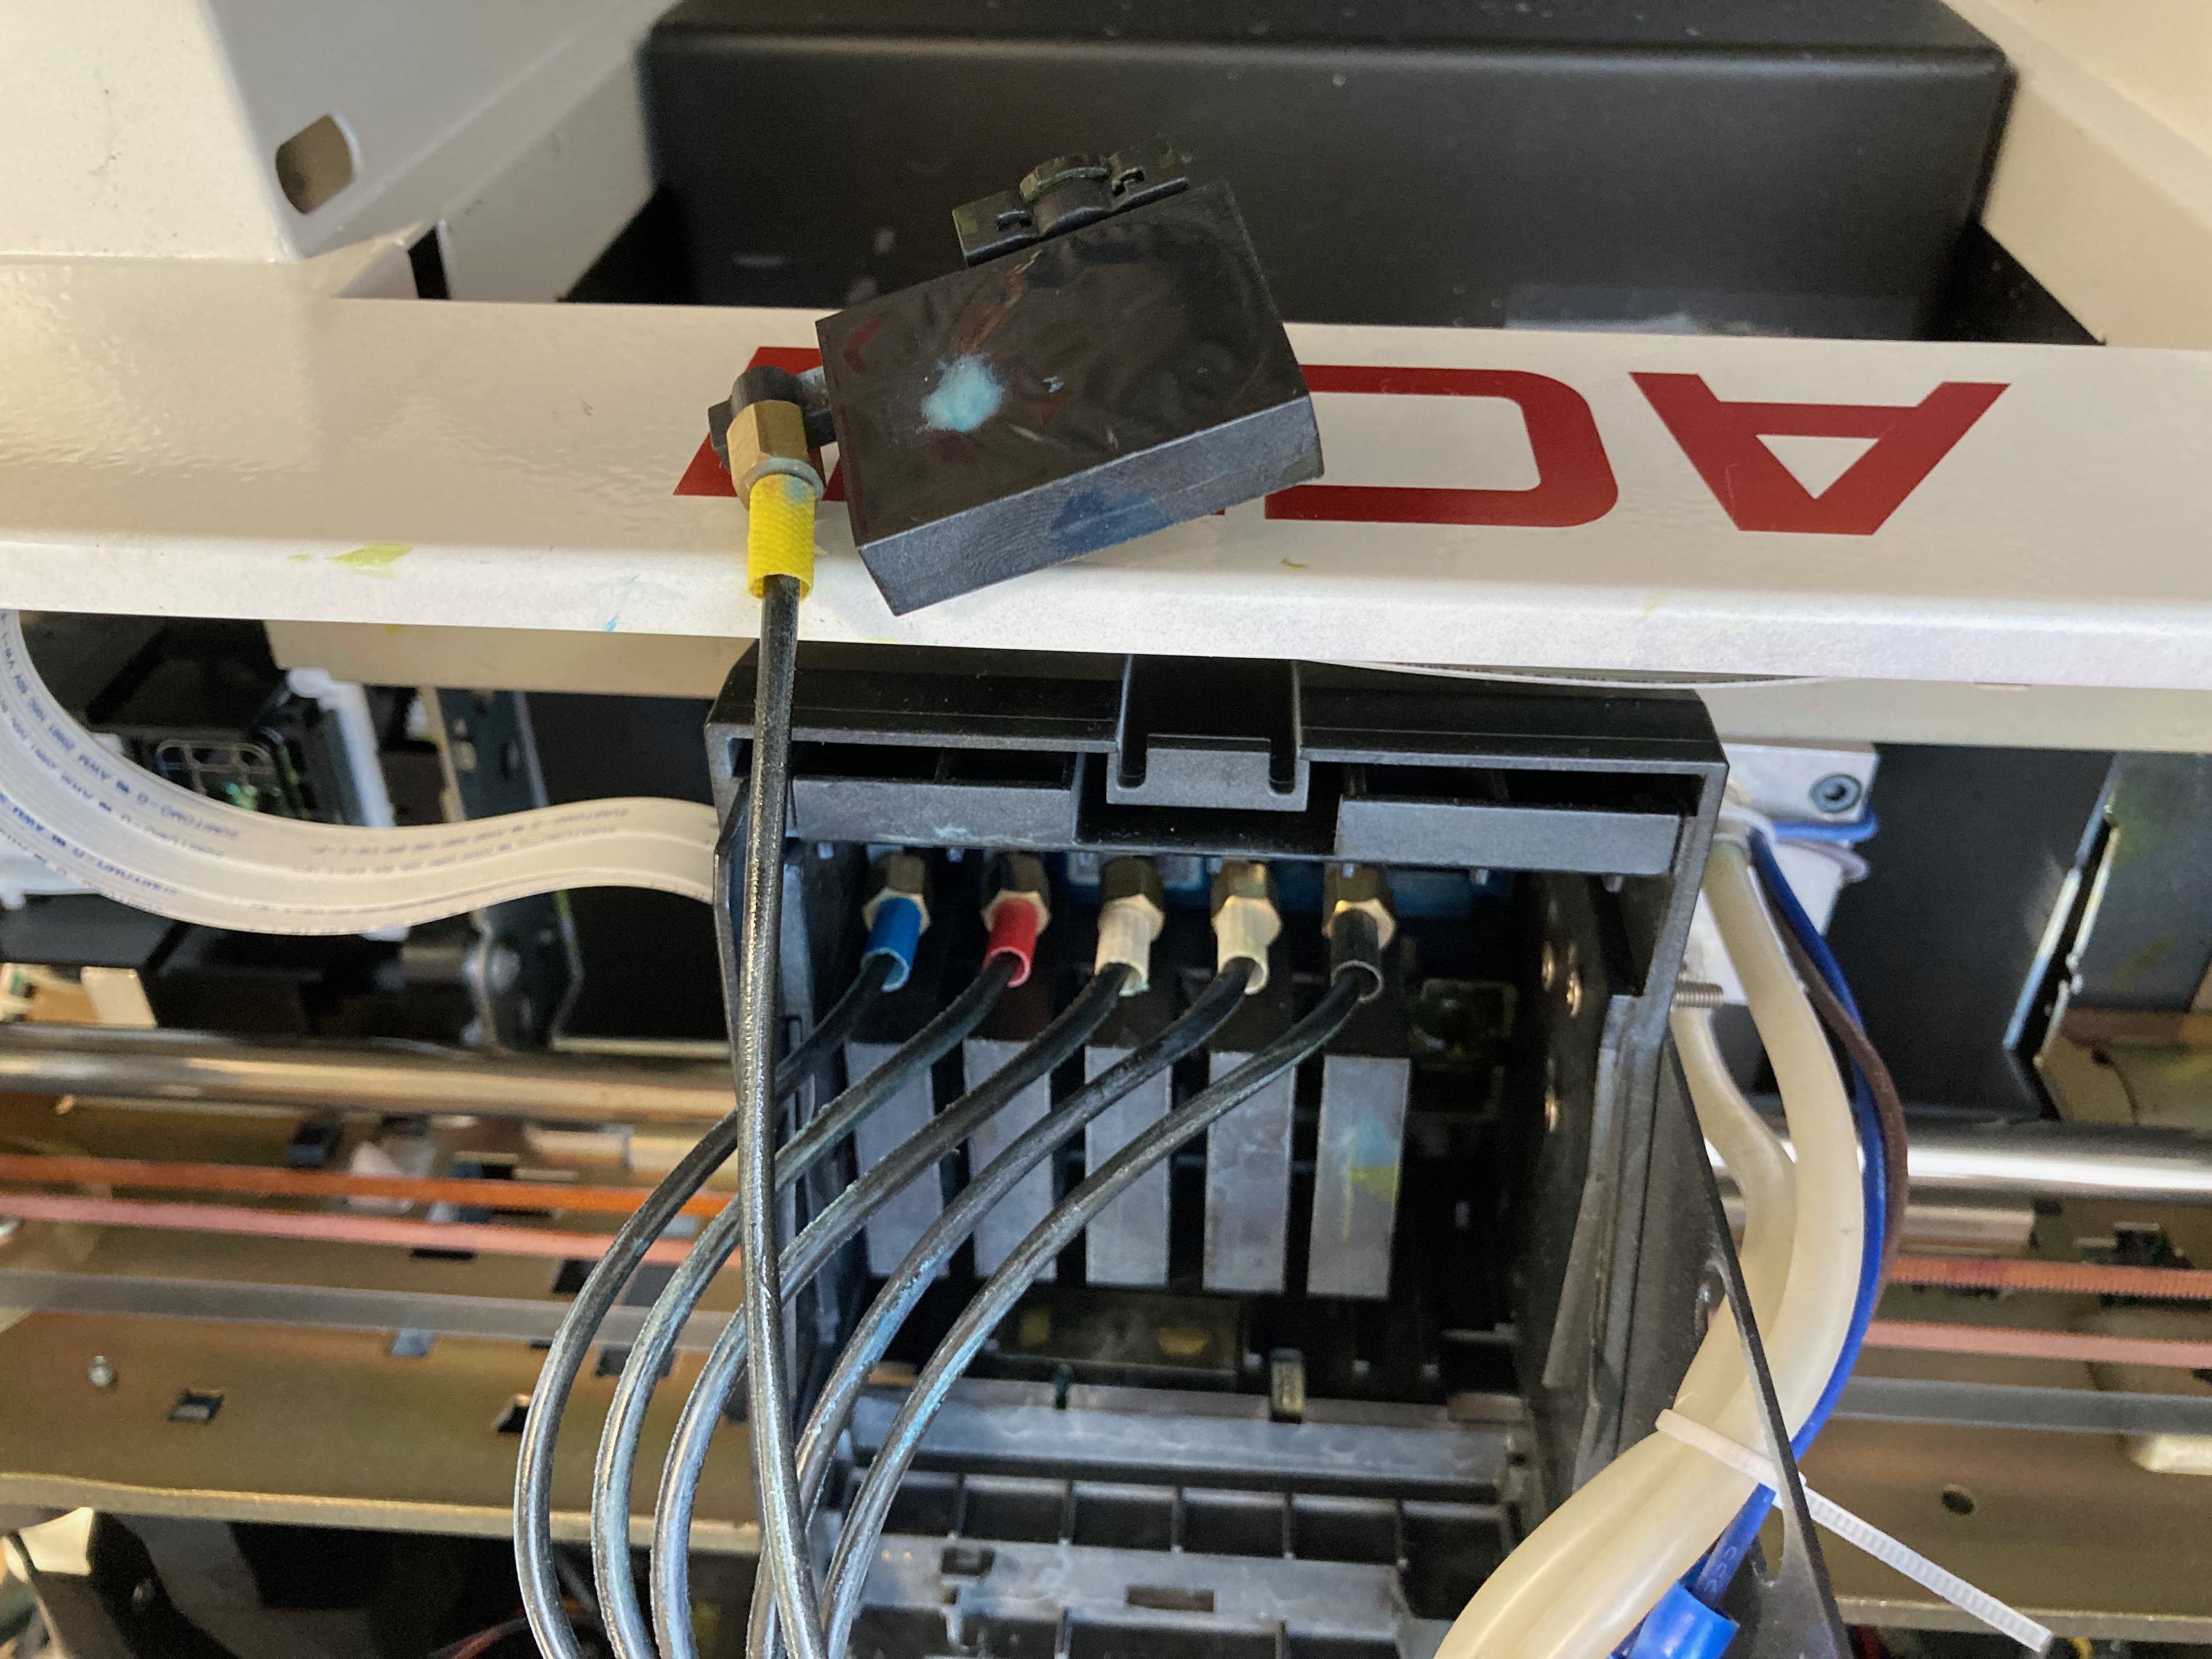
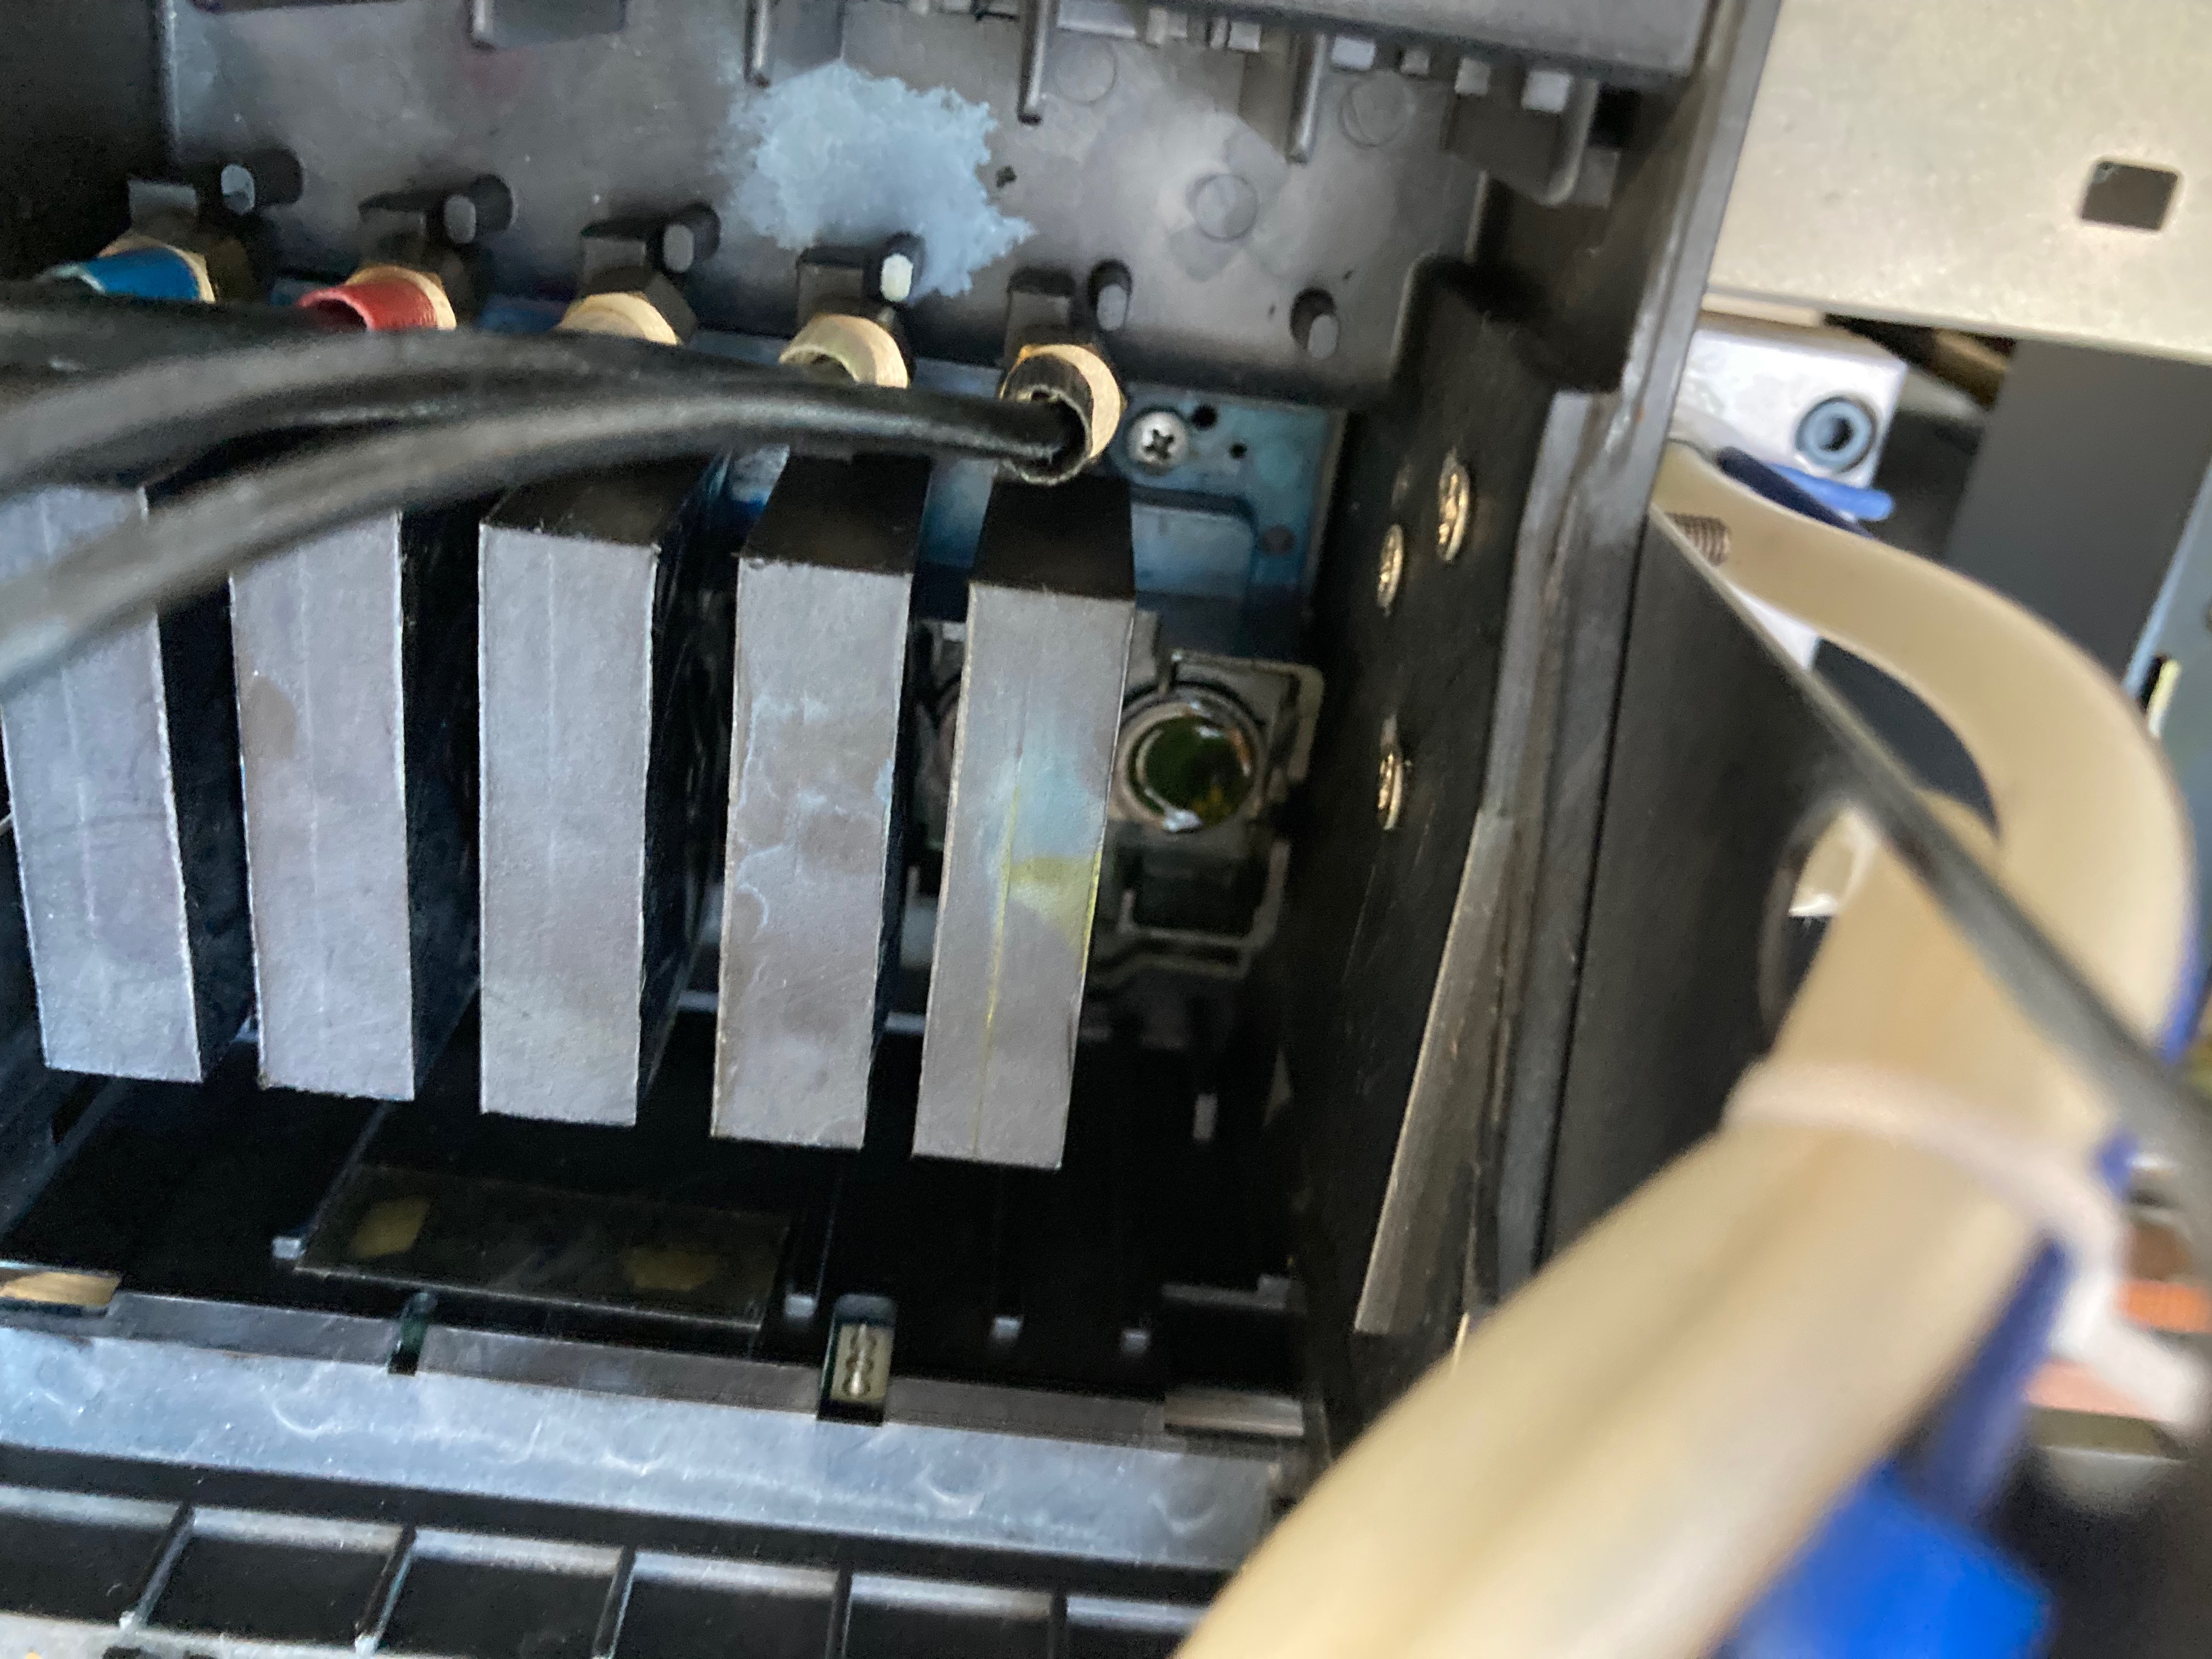
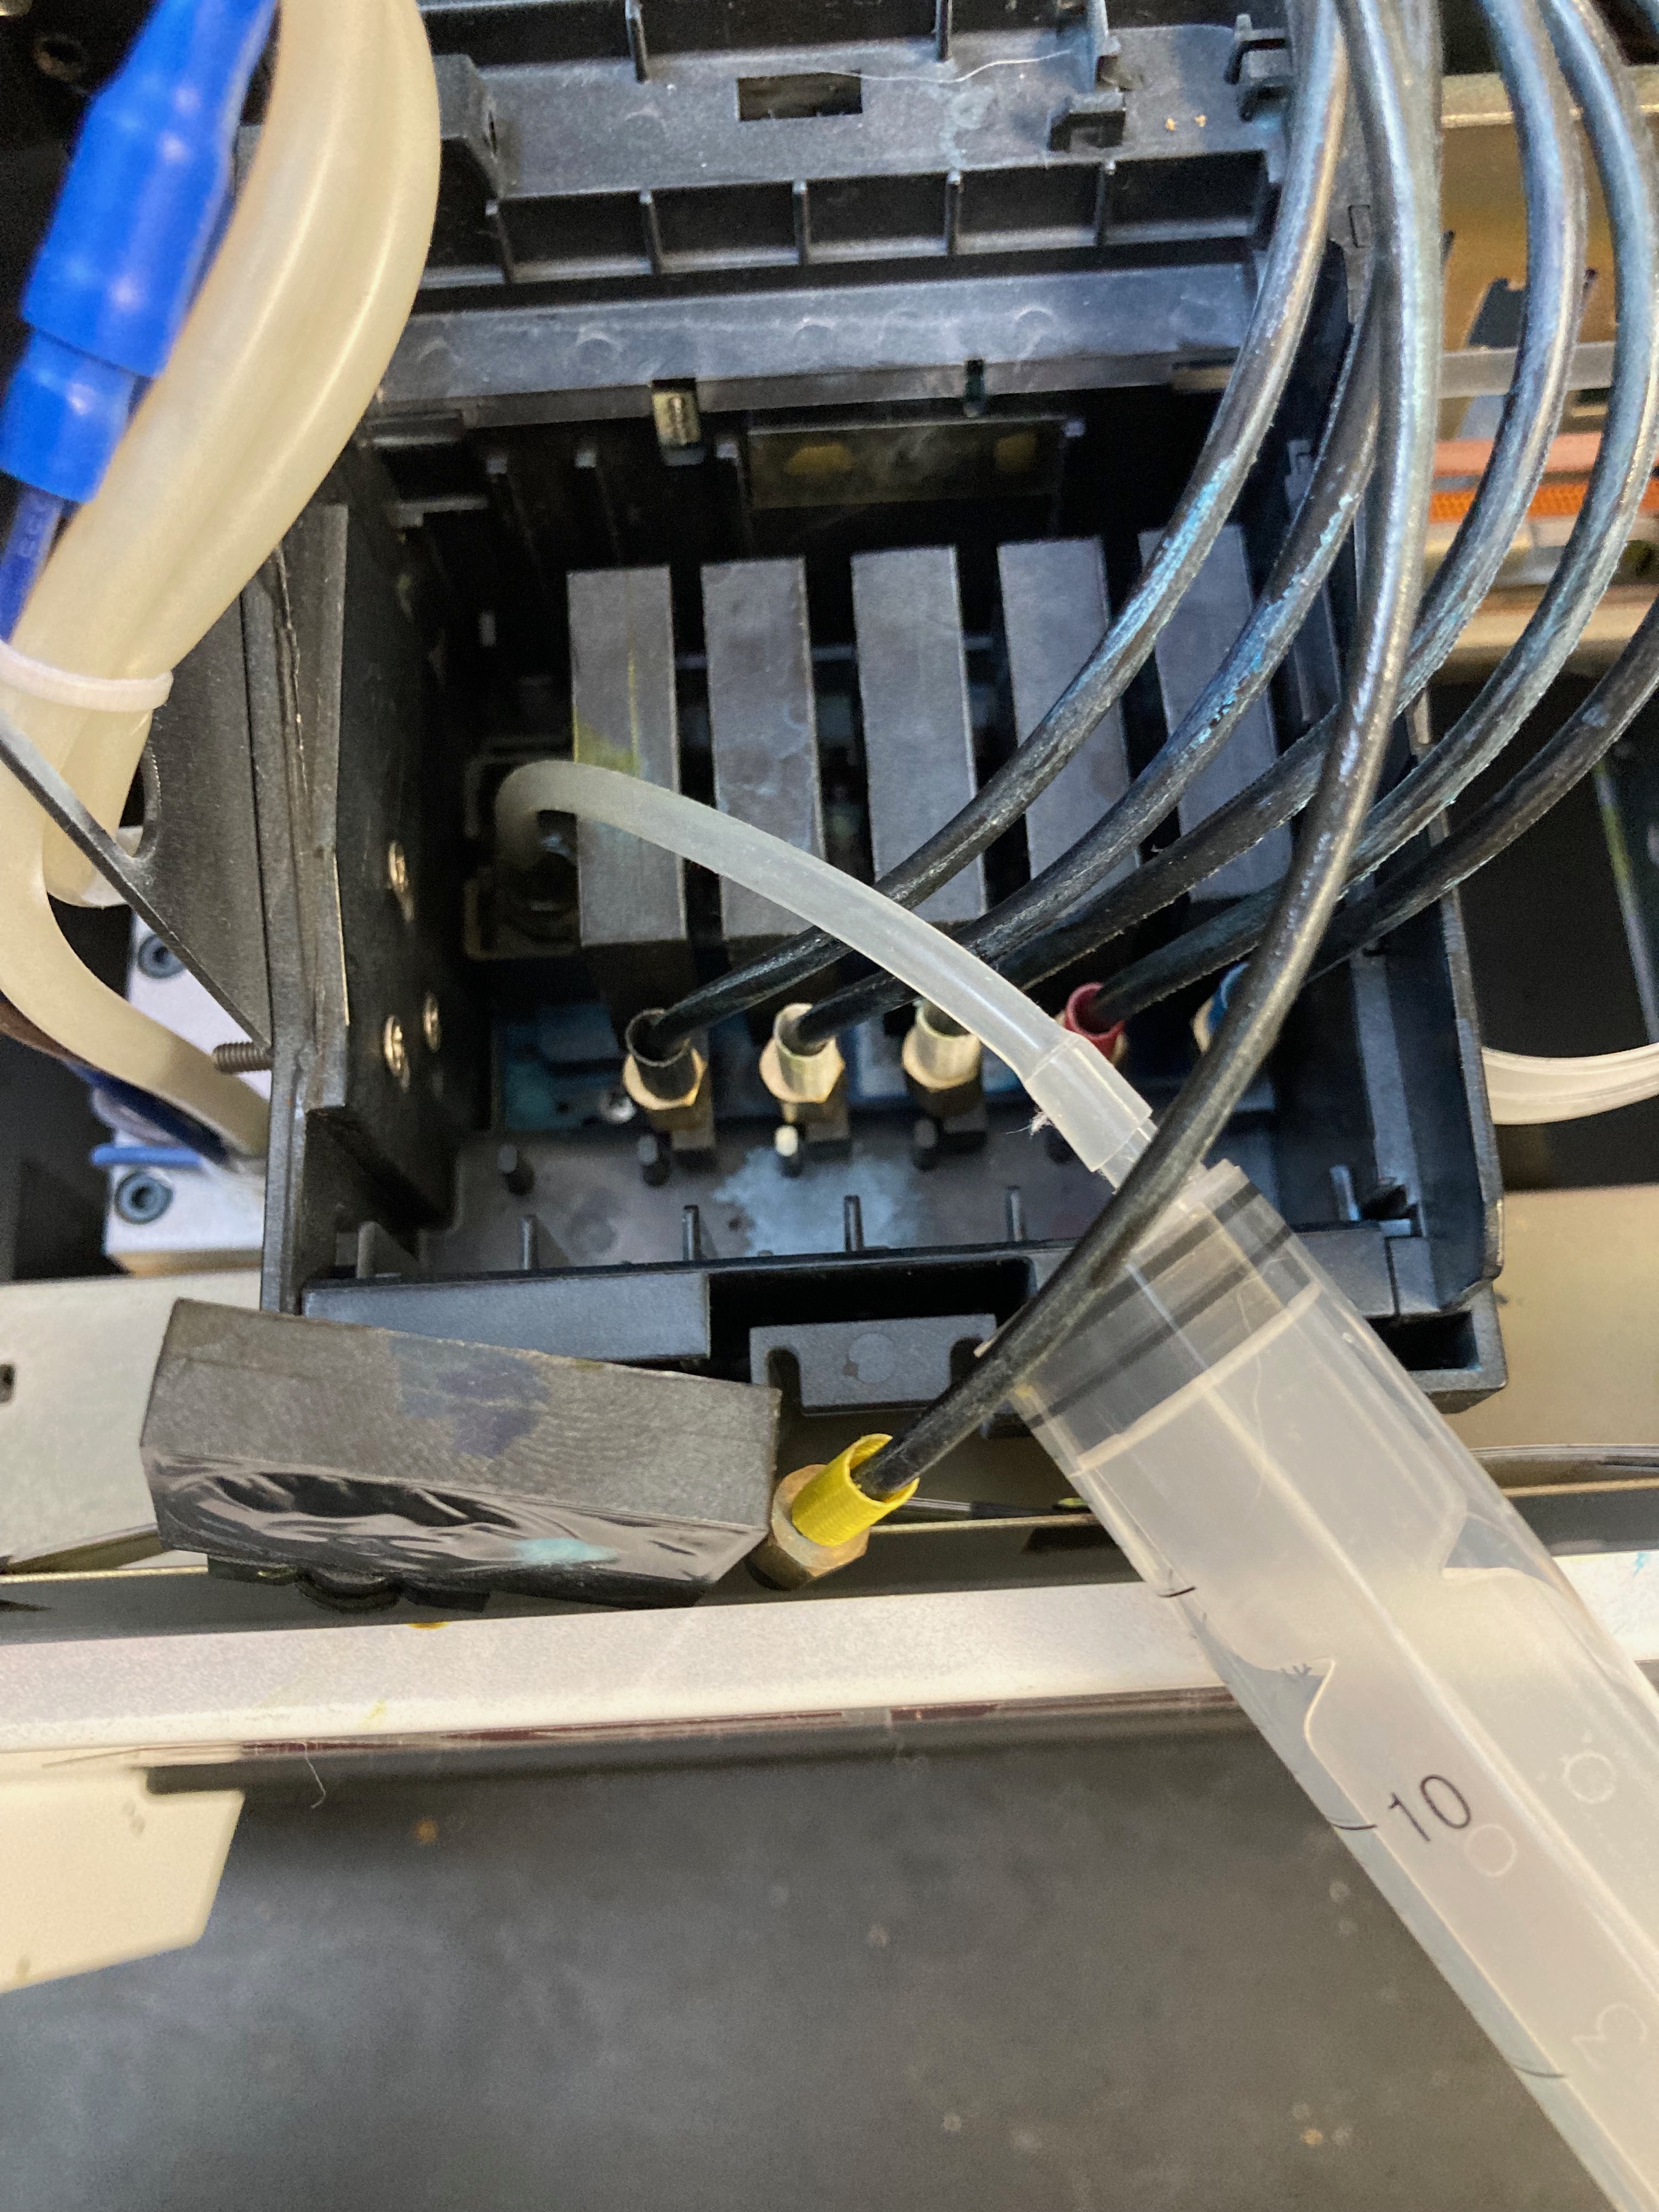
The print head needs to be cleaned with isopropyl. Turn the machine on, wait for the print head to move halfway across, then turn off the main power switch to easily access the ink damper tanks. Remove each ink damper tank and use the syringe which has a tube which fits over the nipple the ink damper fits over to squeeze isopropyl through into a waste container you have placed below. Repeat this for each print head. Do not turn the machine on for a period of time after this process to let any excess isopropyl which may have touched electronic parts to evaporate.
The bar which the print head moves across should be lubed periodically.
Priming
When loading new ink into the bottles or using a new damper set, the dampers need to be primed. Using another syringe with the appropriate gauge to fit inside the damper tank, pull ink through the hose. Discard waste ink from the syringe.
Waste Ink Tank
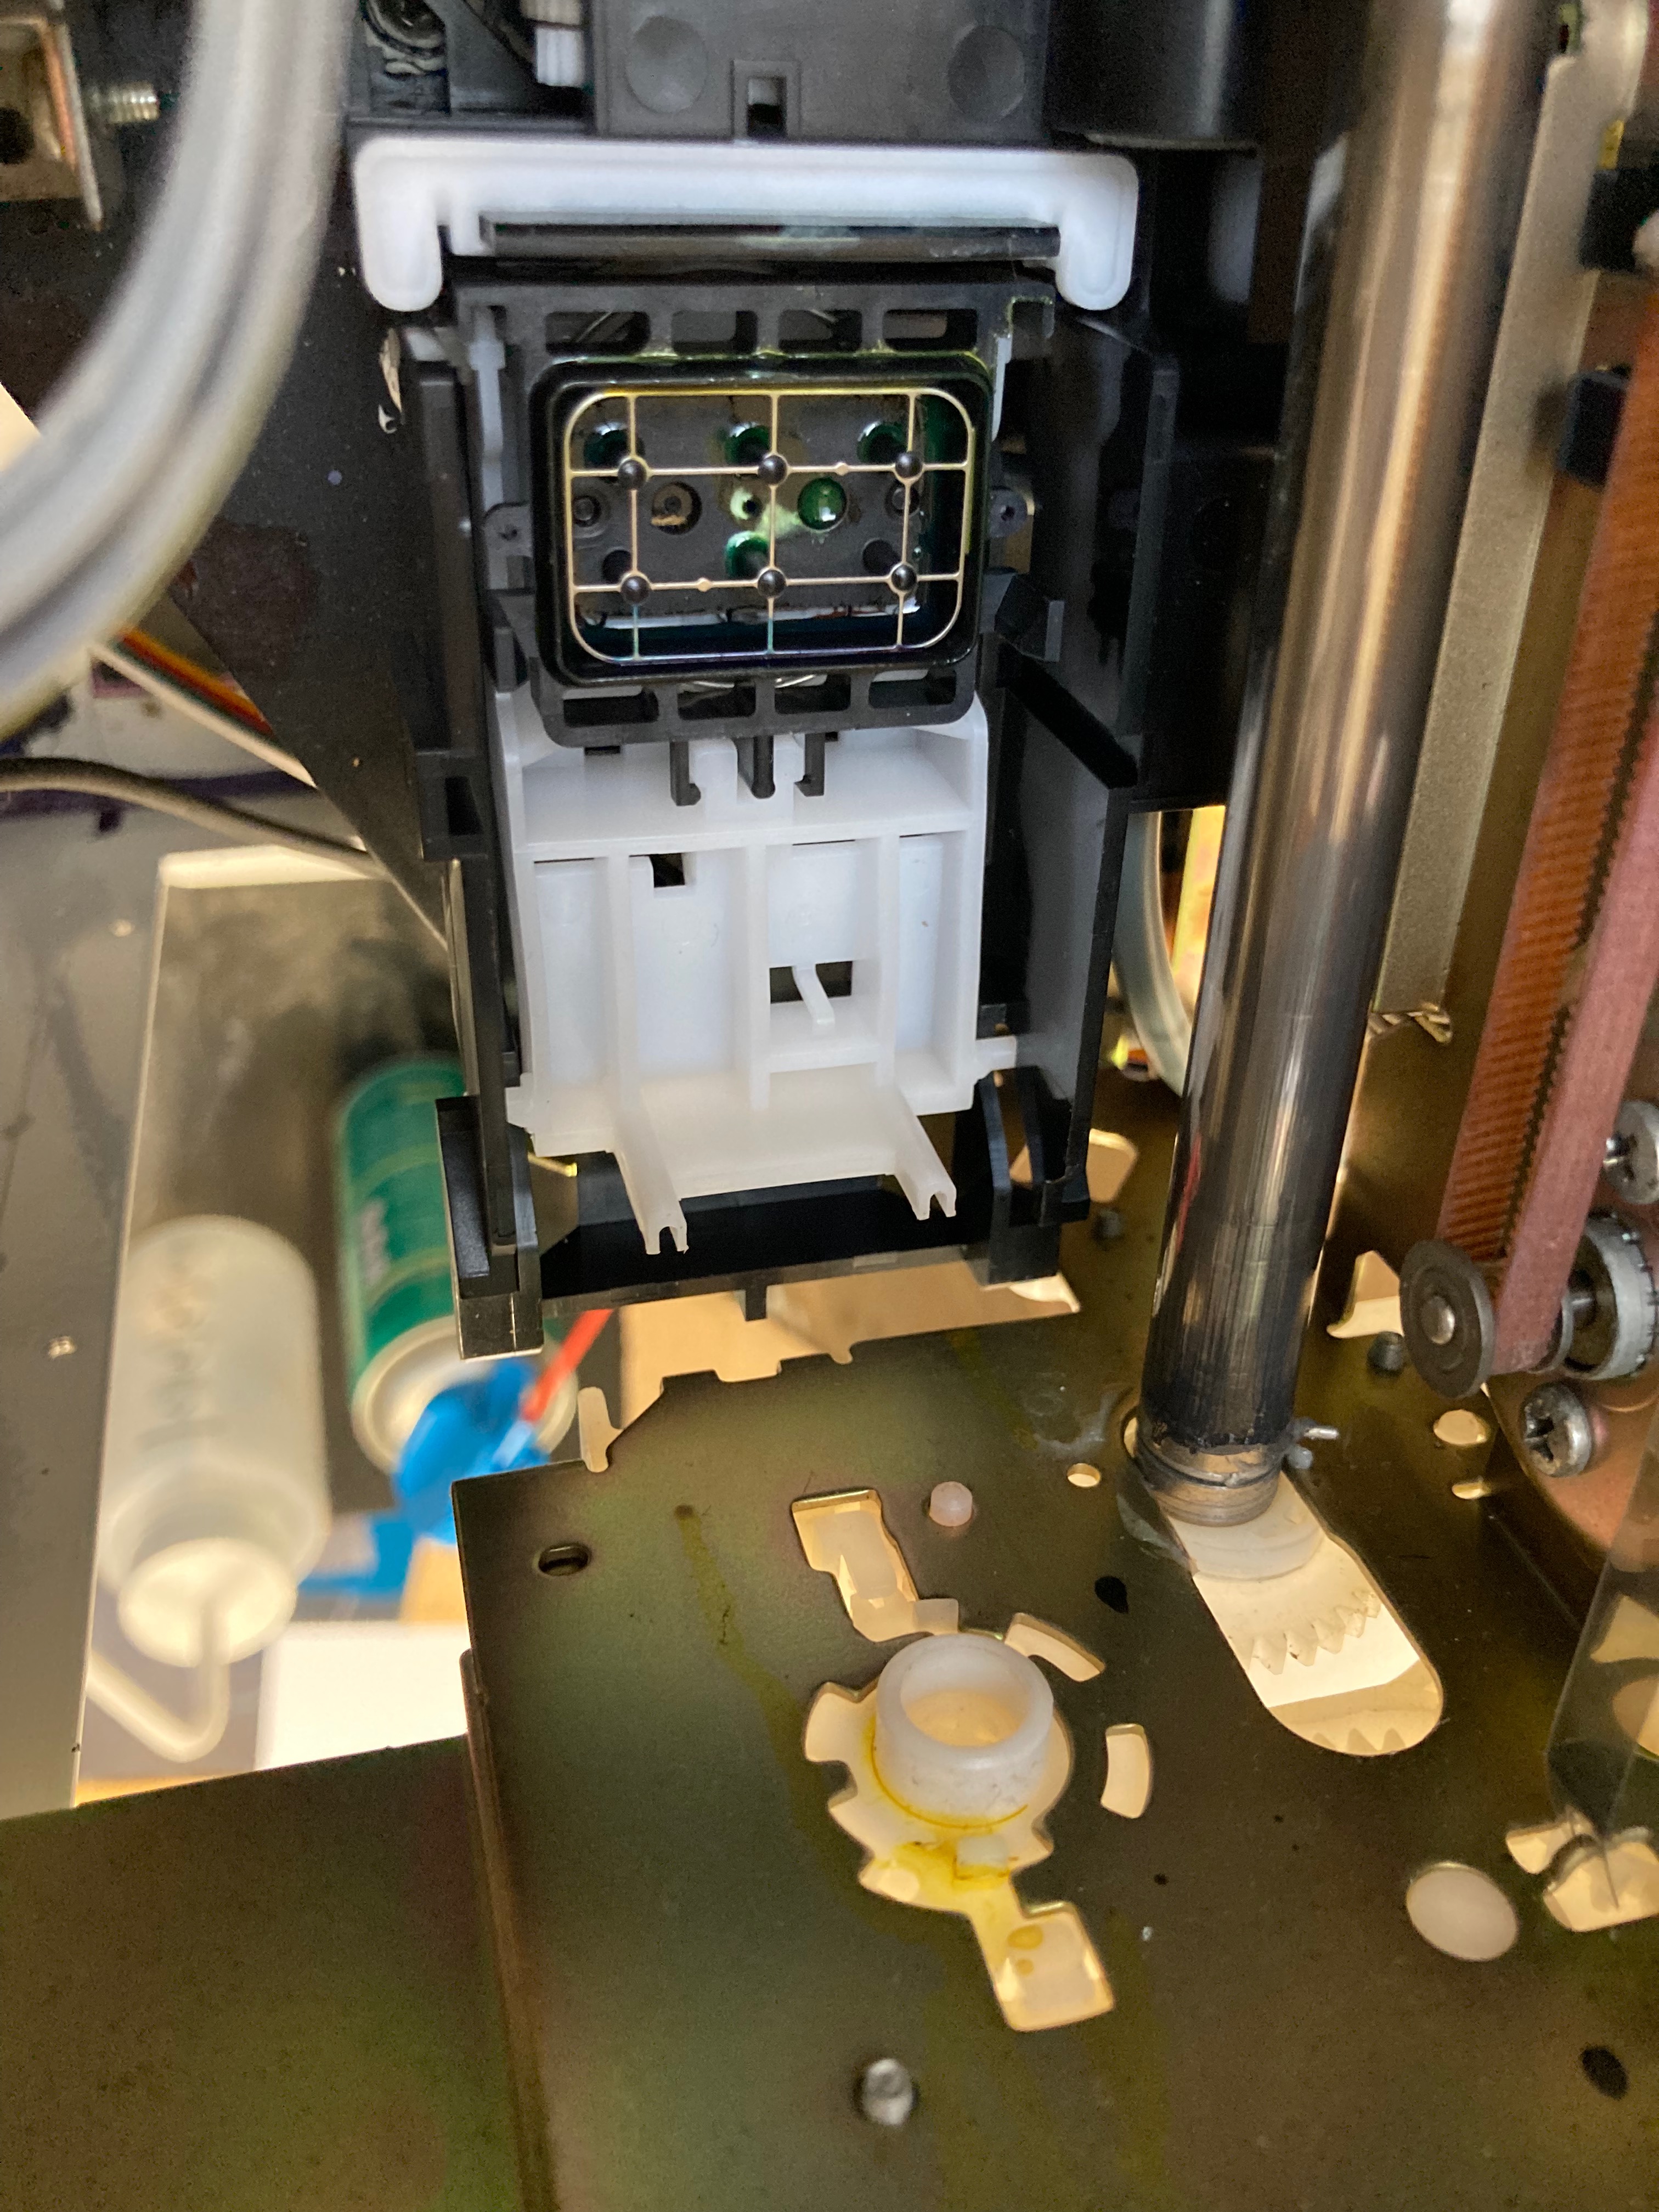
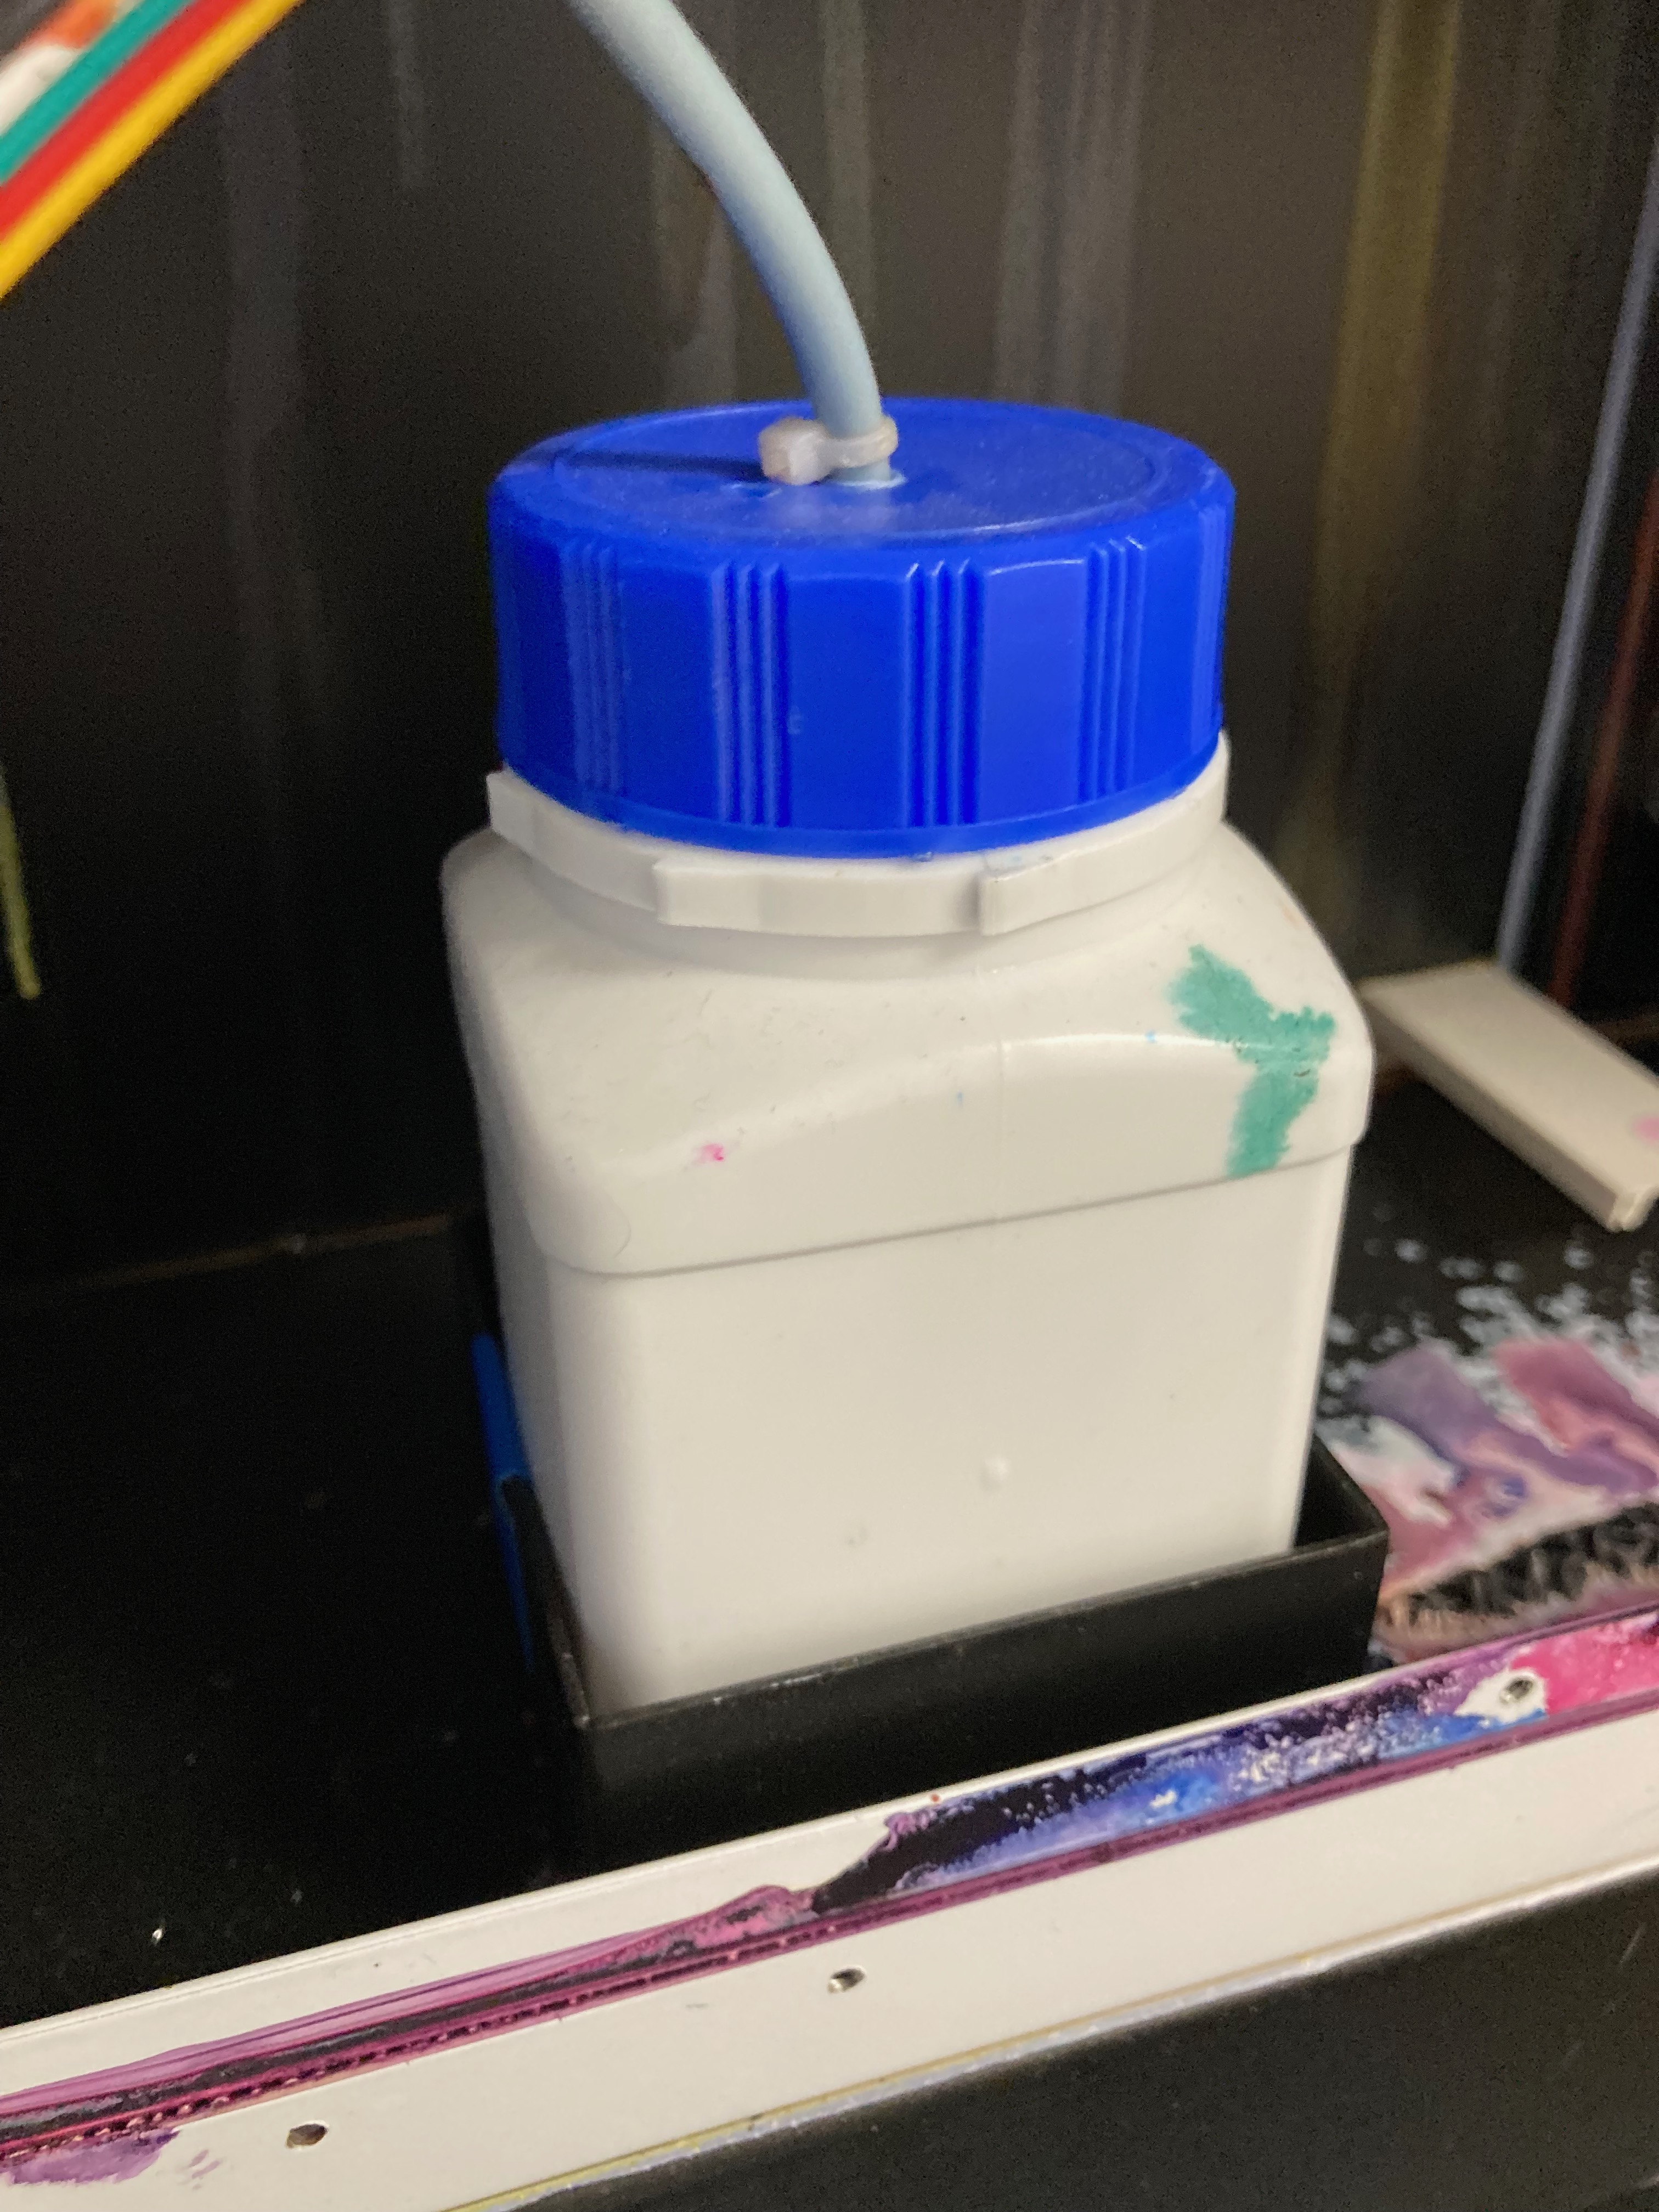
The waste ink tank is on the right side behind a small door and needs to be emptied (fairly infrequently)
Ink Circulation Procedure
To keep the ink fresh, the ink is recirculated on a regular schedule when the main power switch is on. For continued use long term, the main power switch should be left on constantly even if the embedded computer is turned off with the soft power button.
Water Cooling Reservoir
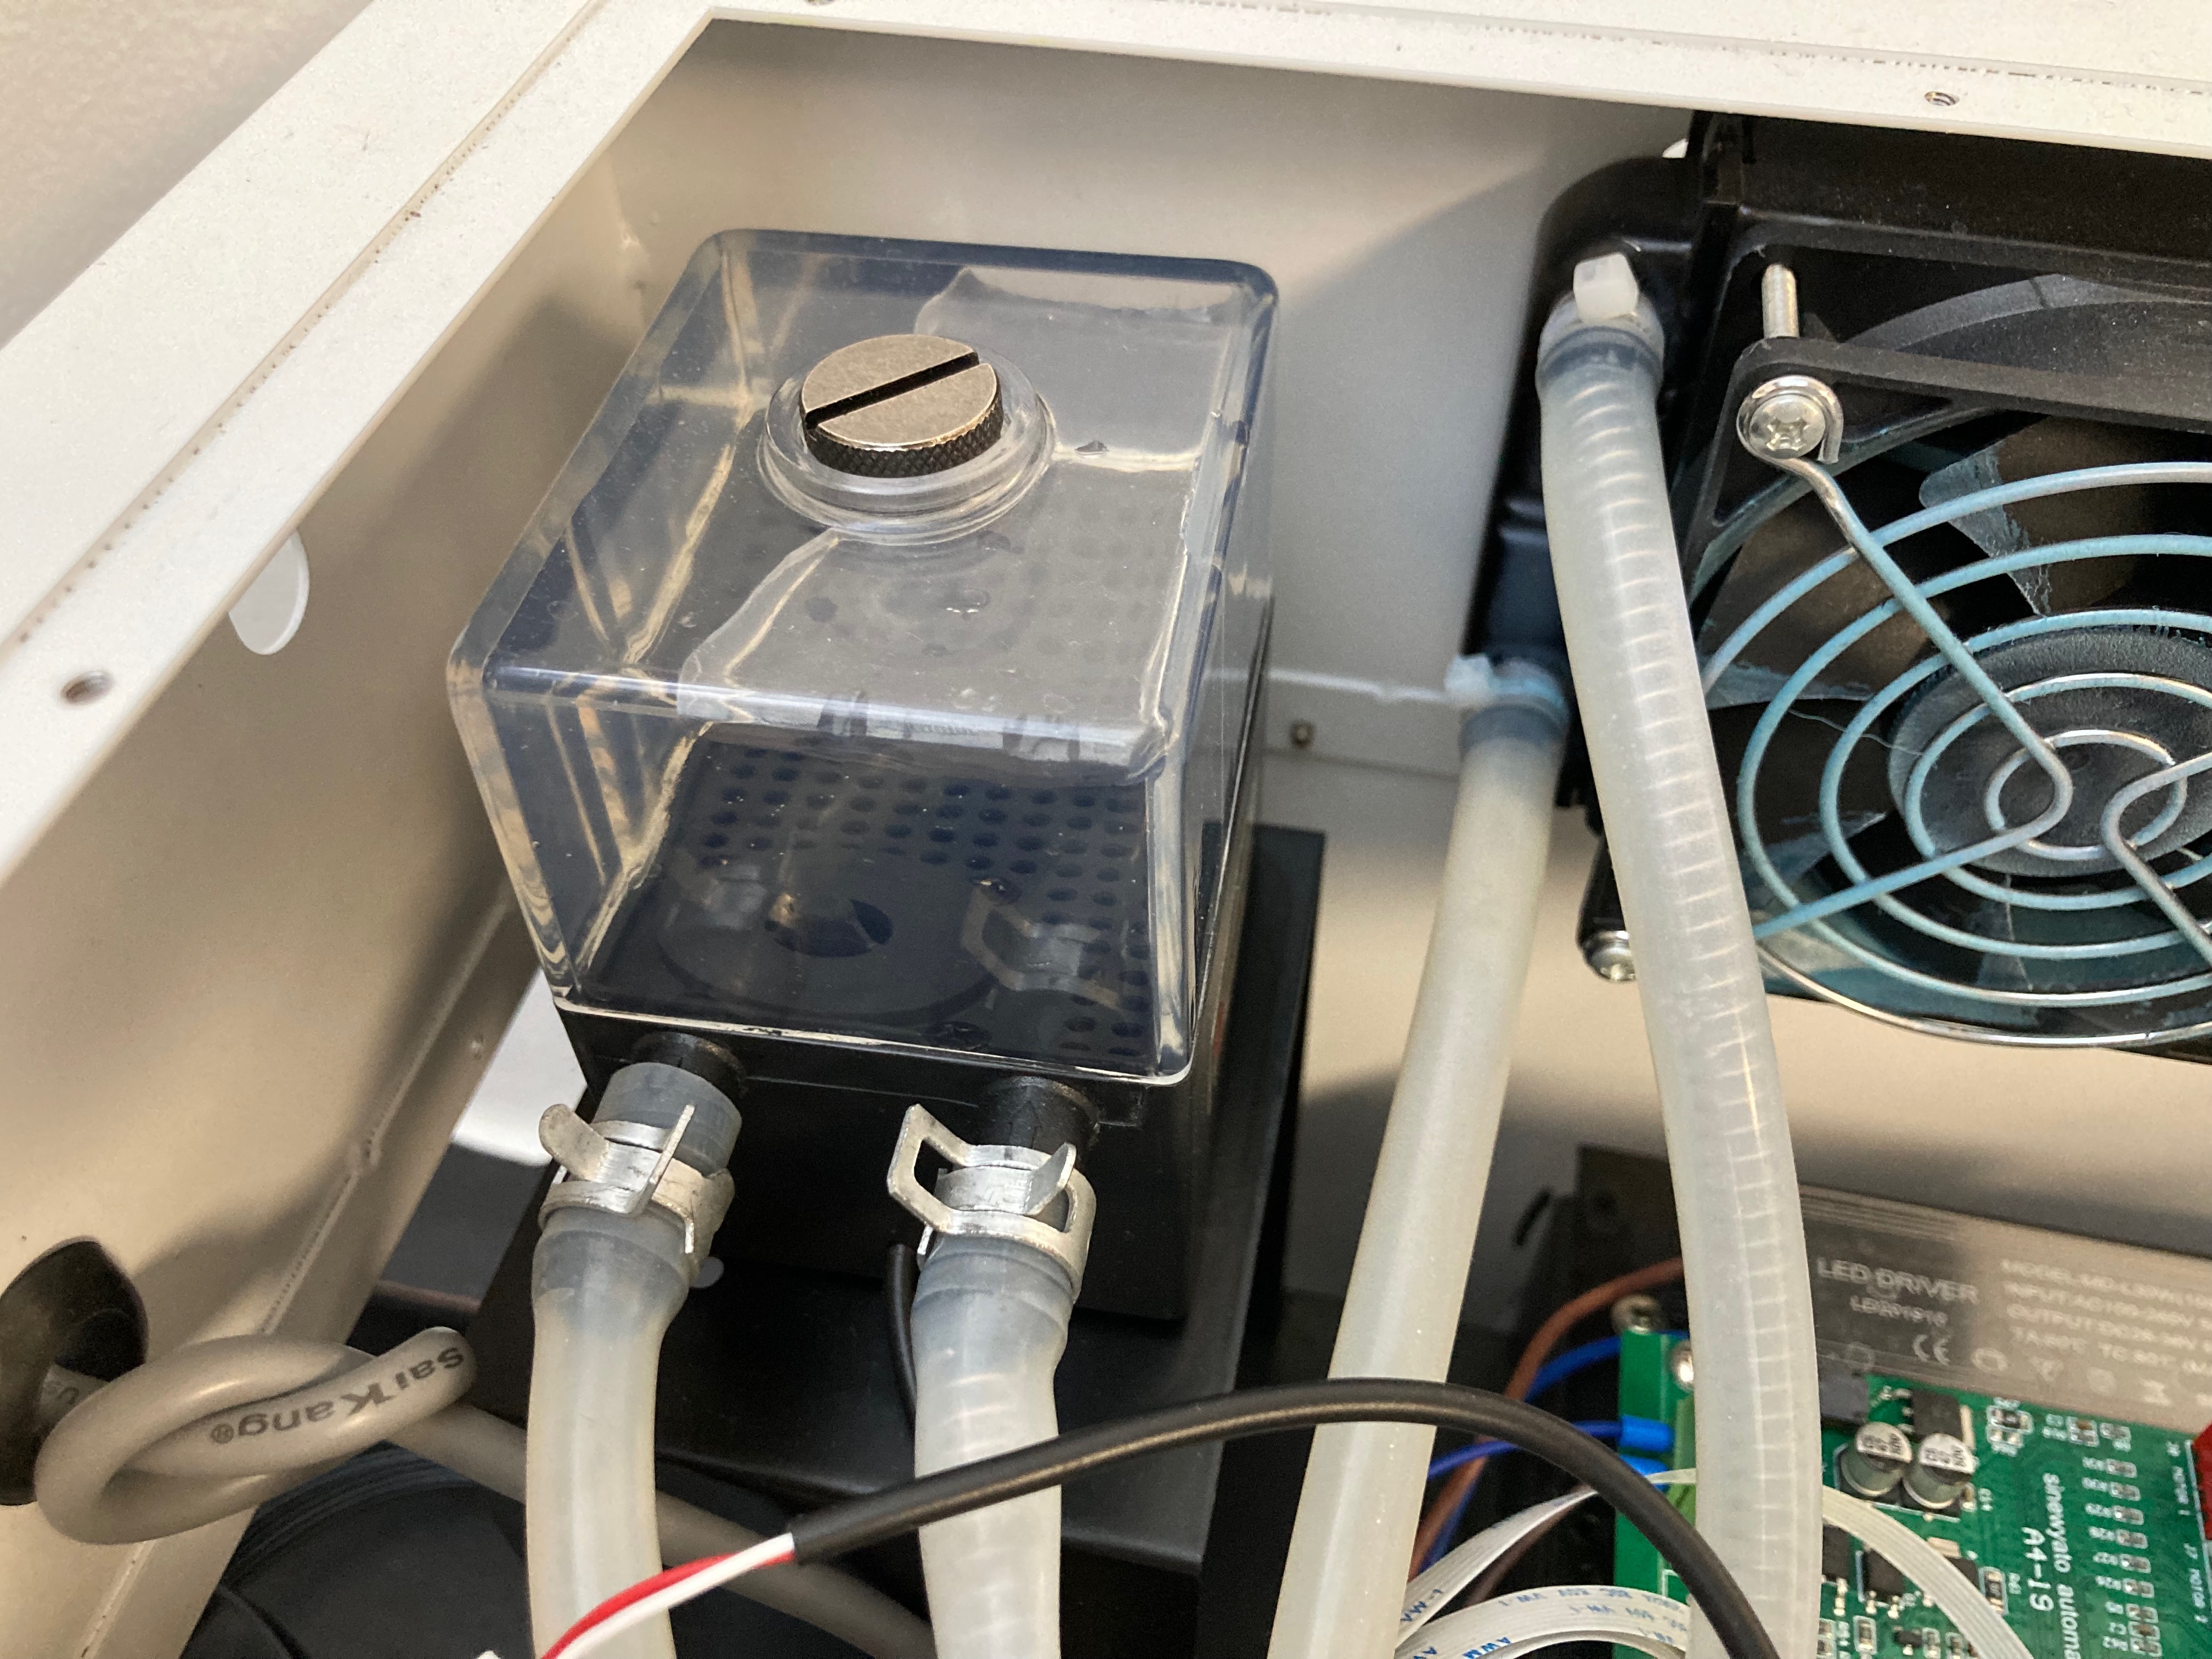
At the back left of the machine is the water cooling pump for the UV and the reservoir. Make sure it is full of water.
"Reset Ink"
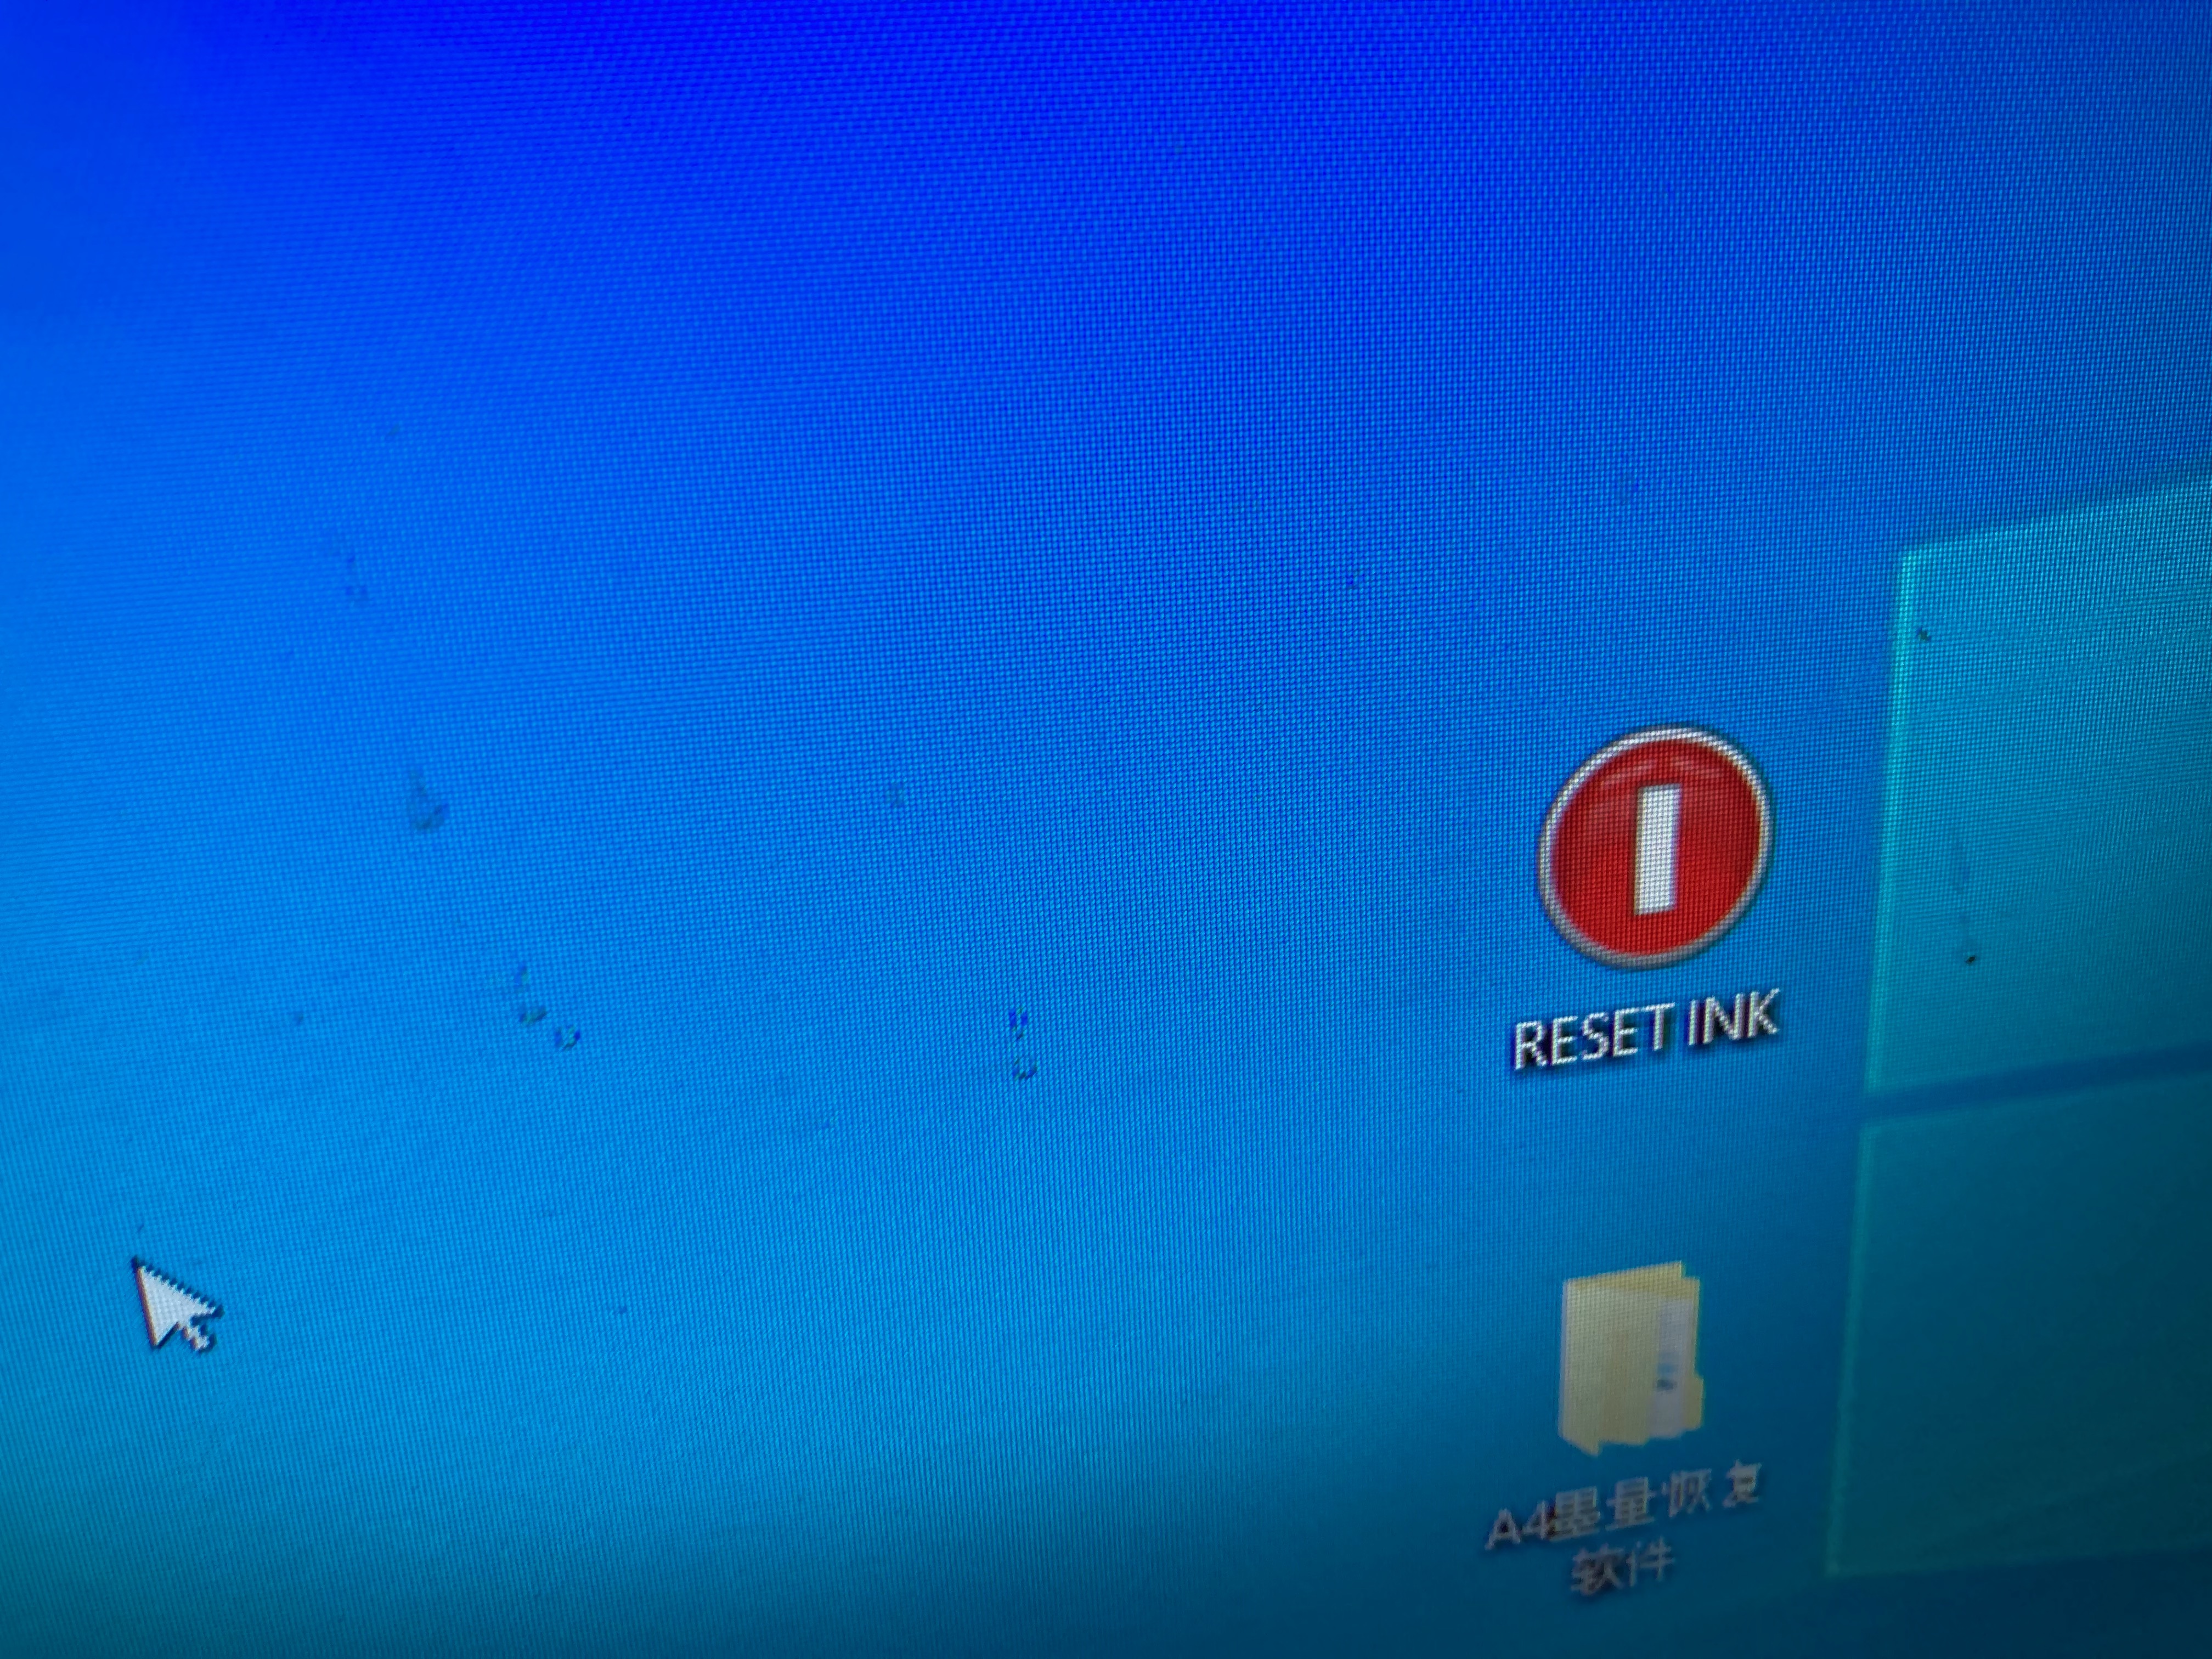
Occasionally, the printer thinks the ink counter needs resetting. There is an application specifically for this.
Maintenance History
The Water Cooling Pump was replaced in March, 2023.
The Waste Ink Pump was replaced in May, 2023.
The Ink Dampers (will be) replaced in December, 2023.
The Print Head has not been replaced.